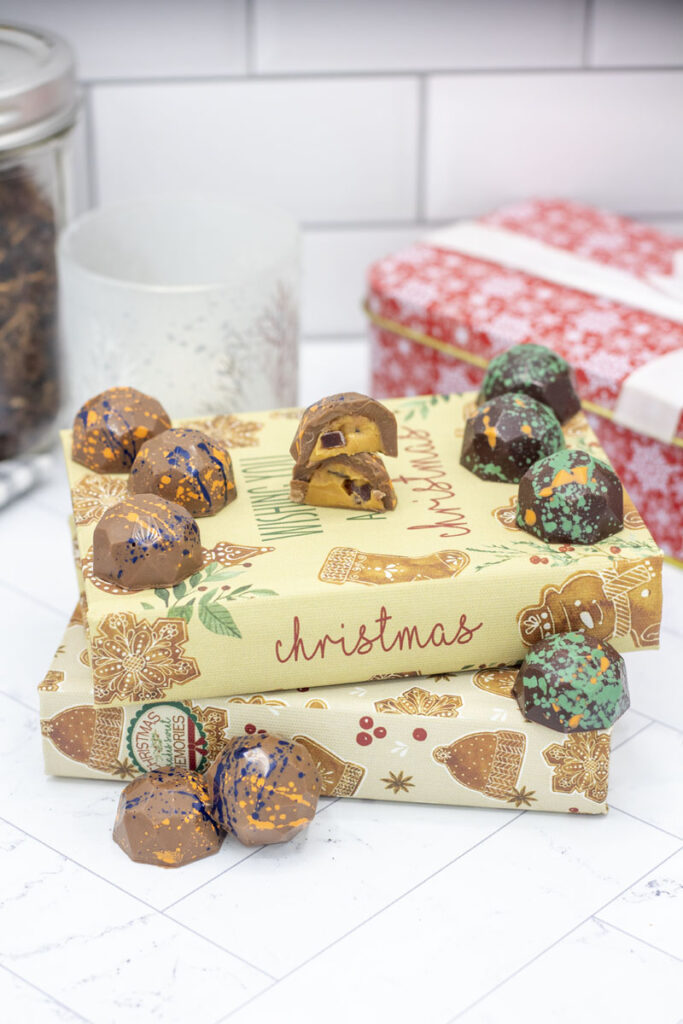
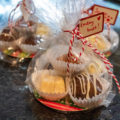
peanut butter and jelly truffles;
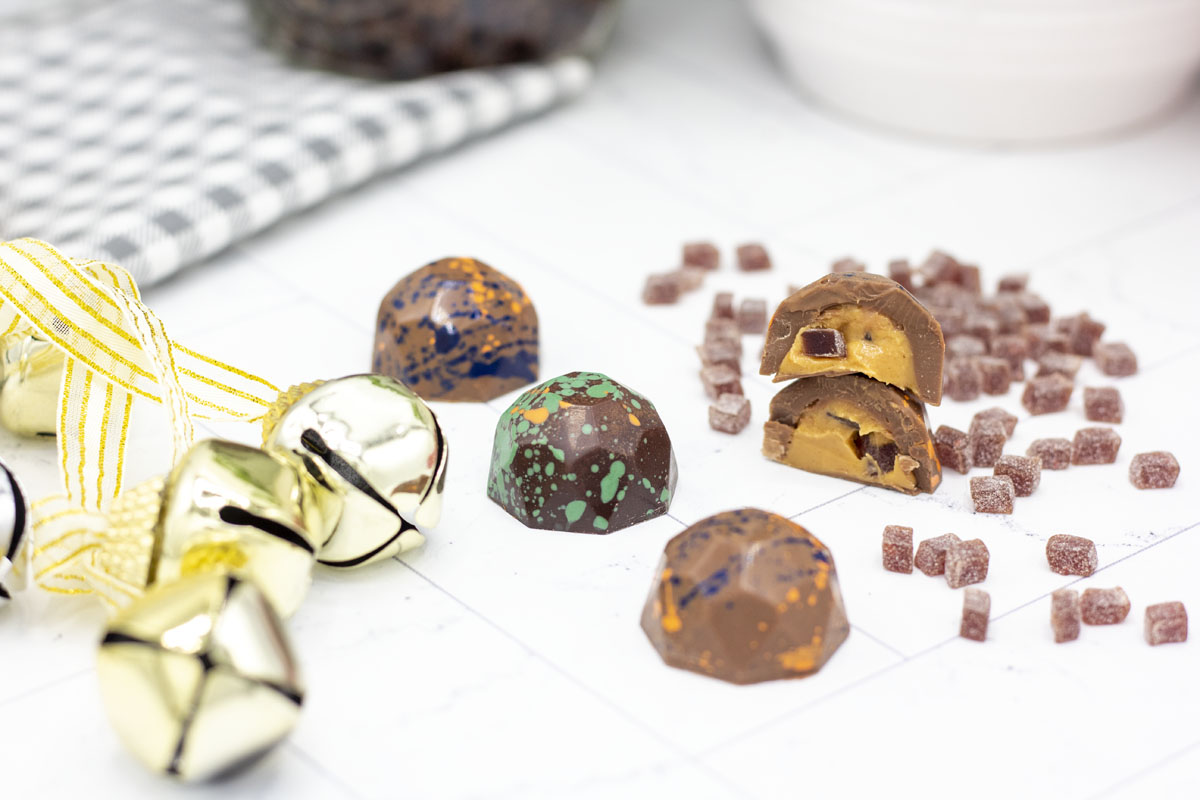
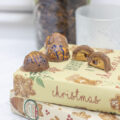
It’s Christmas time, and you know what that means here at Best with Chocolate–truffles! Holiday season might as well be synonymous with chocolate in my home. These peanut butter and jelly truffles are a fun twist on a classic. I’ve made peanut butter cups before, but I had to up the ante and make these peanut butter and jelly truffles this year!
If you want to tackle chocolate tempering, you may want to start with my guide to tempering chocolate: the seeding method; In it, I’ll go over the process of tempering chocolate as well as alternatives and the best chocolate for every job. It also includes some tips for troubleshooting if you have issues with tempering.
Tempering chocolate is a finicky beast. I really enjoy the polished look of molded, tempered chocolate on these peanut butter and jelly truffles, but I have plenty of truffle options that don’t bother. (Check out my gingerbread truffles or raspberry chambord truffles or head over to the ultimate holiday truffle guide for the full list.)
Tempering chocolate is a finicky beast. If you want to attempt tempering, check out my guide to tempering chocolate: the seeding method. If it’s too intimidating, keep reading.
secret to success
To temper chocolate, you need couverture chocolate, special equipment (molds, a thermometer), and a lot of patience. To learn more about the tempering chocolate process, check out my guide to tempering chocolate: the seeding method. You really need to allow the chocolate to set to allow the correct crystals to form in the chocolate. Don’t rush the process. Making a truffle like this is at least a 2-day process, 3 if you want to add colored cocoa butter. Be patient with yourself if you want to attempt it!
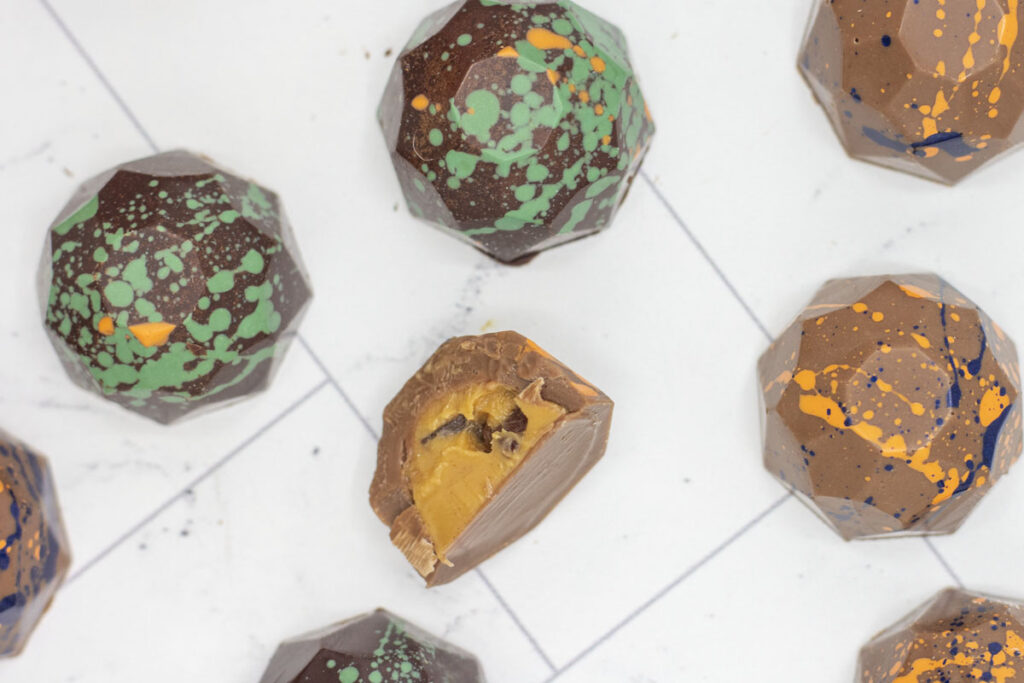
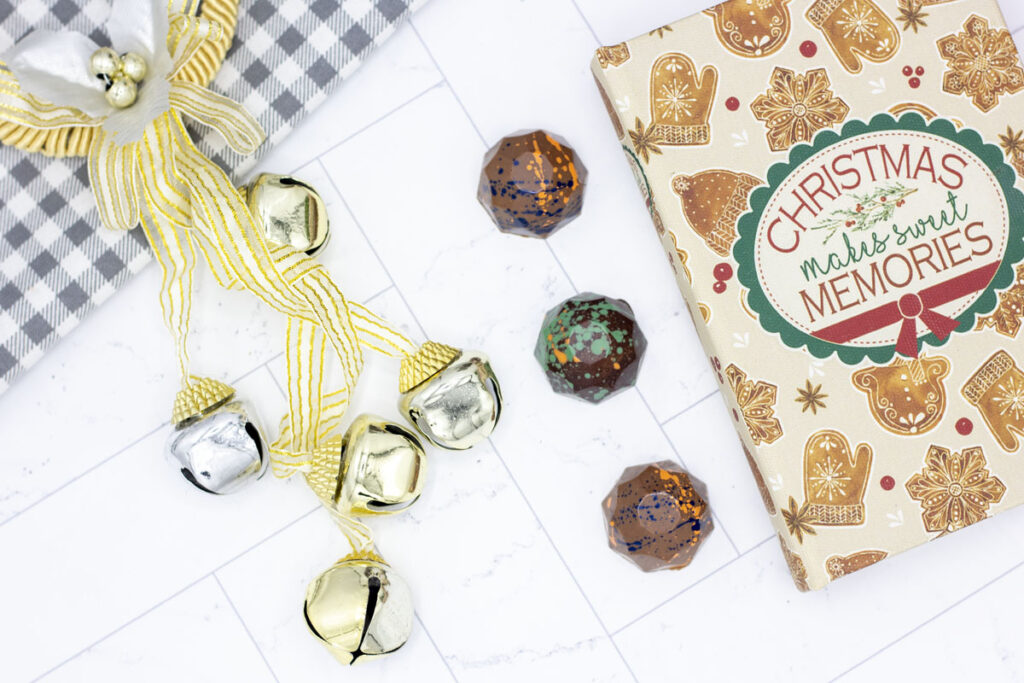
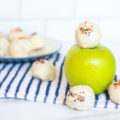
Decorate your peanut butter and jelly truffles as you see fit. If you don’t like my color combos of paint-splattered cocoa butter, make your own! I do find that paint splatter looks polished with very little effort. I simply use an (unused) paintbrush dipped in tempered cocoa butter and splatter away.
When it comes to peanut butter, use your favorite! Personally, I go with creamy Skippy peanut butter in my peanut butter and jelly truffles. It’s nostalgic for me, since it was the brand my mom always bought growing up. We always used it in the peanut butter and jelly sandwiches she’d send me off to school with.
If tempering from scratch is too much, add confectioner’s sugar to the filling to make it firm enough to hand-dip.
secret to success
If you’re not ready to invest in polycarbonate molds, and tempering your own couverture chocolate from scratch, check out the notes section of the recipe! You can make hand-dipped truffles, but you’ll need to add confectioner’s sugar to the filling to make it firm enough to coat. Check out the recipe for peanut butter and jelly truffles below for all the specific details.
You can absolutely use chunky peanut butter if you prefer. You just might have to work a little harder at mixing in the jammy bits since there will be bits of peanuts to compete with. I like the skippy peanut butter straight as-is. But if you want some extra sweetness, you can add some confectionery sugar.
If you like to up the sweetness factor, add some extra sweetness to the peanut butter with confectioner’s sugar.
secret to sucess
If you’d like to use dark chocolate go for it! It’s honestly my preference to use dark chocolate, but some crazies in my family contend that milk chocolate pairs best with peanut butter =). I don’t mind milk chocolate but I still stand by dark chocolate. Keep in mind that the temperatures for tempering are different for dark chocolate.
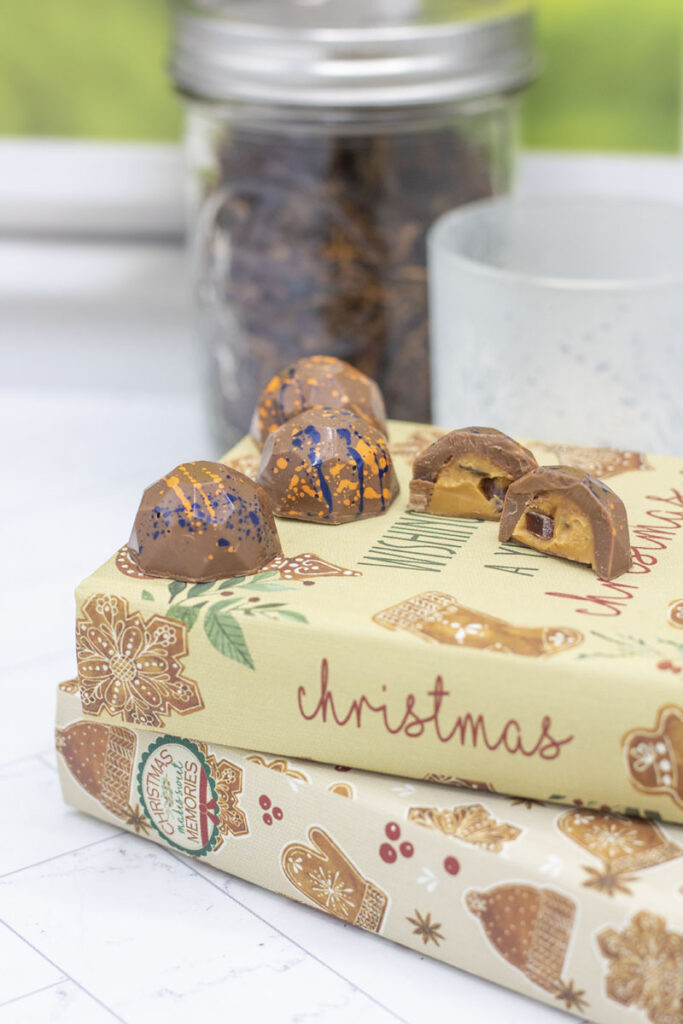
When it comes to that sweet, sweet jelly, you can absolutely use your favorite jam, jelly, or preserves. You can layer the peanut butter first into the truffle and then finish with your jam. I find it easiest to fill both fillings after heating them a little. You only want to heat them just enough to make them runny and easy to fill. Too much heat can interfere with the setting chocolate and can impede the temper of your chocolate.
I really like the combination of smooth peanut butter and jammy bits. But alternatively, add some extra texture with chunky peanut butter and layer on a classic jam.
secret to success
But what I did for these peanut butter and jelly truffles was add some jammy bits. I really love the added texture of mixing in cherry jammy bits. Think of them like little teeny tiny jam-flavored gummies. Perfect for cookies, scones, and peanut butter and jelly truffles! I really enjoy the cherry flavor, but they also carry blueberry, apple pie, orange, and raspberry flavors. (Not sponsored, I just very much enjoy King Arthur Flour products. And this one is pretty unique.) So you can take this recipe and make it your own way with your own favorite flavors.
secrets to success;
Want all the best tips and tricks to make this recipe a success? Check out the blog post above to find out more!
more recipes;
Looking for other chocolate guides and recipes? Check out these options:
- Check out all of the truffle recipes I’ve posted over the years in the ultimate holiday truffle guide; Flavors like orange, gingerbread, cinnamon bun, and more!
- Learn more about tempering chocolate: the seeding method to understand the nuances of chocolate tempering and help troubleshoot when you’re having issues.
- Hot chocolate bombs are a wonderful treat for the colder weather. Chocolate shells stuffed full of cocoa mix, marshmallows and more!
pb&j truffles;
Equipment
- chocolate molds (if making molded chocolates. Polycarbonate is best for tempering chocolate, silicone molds can be used but may cause bloom.)
- candy thermometer (if making molded chocolates. See notes for replacements and how to adapt the recipe to skip tempering chocolate.)
- piping bag + large round tip (if making molded chocolates. Tip needs to be big enough to allow jammy bits through. I will actually skip the tip if the bag hole is sufficient.)
Ingredients
for molded truffles;
- 8 oz milk chocolate (plus more for seeding)
- ⅔ cup peanut butter (I prefer Skippy)
- 3 Tbsp jammy bits (alternatively you can layer in your favorite jam)
- colored cocoa butter (optional)
Instructions
- Prepare your chocolate molds. Polish the molds using cotton balls and/or isopropyl alcohol and make sure there is no residue. This helps ensure smooth shells and helps temper the chocolate. I recommend lining your work surface with parchment paper or a large silicone mat to help with mess.
- (Optional) Decorate your chocolate molds. Heat the colored cocoa butter according to instructions and paint, flick, draw on any patterns or colors you want to use. For these I used a (clean) paintbrush to flick different colors onto the molds for the splatter effect. For best results allow to set overnight.
- Temper your milk chocolate. Temper the milk chocolate. Add 8oz of milk chocolate to a microwave safe bowl (plastic is best, so as not to retain residual heat). Microwave 30-second increments, stirring the chocolate as it melts. Bring to 45°C. This ensures all the crystals are melted and you have a clean state for tempering.
- Once the chocolate has reached 45°C, continuously stir the chocolate. Add in your seeding chocolate in small amounts, stirring vigorously to melt the new chocolate into the liquid chocolate. The temperature will slowly reduce to 27°C. This will take several minutes.
- Create the molded chocolate shells. Once the chocolate has reached 27°C, quickly pour over the molds and fill all cavities. Shake vigorously to remove any air bubbles from the molds. Quickly overturn the molds and allow the chocolate to pour out. I pour directly onto a silicone mat because I find it easiest to recycle the leftover chocolate later, but you can also pour it back into the original bowl. (Note: pouring chocolate back into the original bowl may be more likely to cause bloom if you use the same chocolate to fill another mold.) Repeat steps for all molds.
- Allow shells to set. Make sure to place the chocolate molds in a cool, dry place to set. Ideally you want to circulate air as much as possible around the molds. I usually store them upside down as well, as it helps the rims have a little extra thickness for capping. Allow to set overnight so the chocolate crystallizes without impediment.
- Fill the shells. Melt your peanut butter in the microwave. You want it runny enough to pipe or spoon into the shells, but not too hot that it will cause the chocolate shells to come out of temper. I usually microwave for 20-40 seconds before stirring, but time may depend on the strength of your microwave.
- Once peanut butter is melted, fold in the jammy bits. Fill the piping bag with filling and pipe into each mold, leaving about an ⅛" at the top (or preferred thickness for the base). Add additional jammy bits as needed.
- Cap the chocolate. Repeat the process for tempering milk chocolate. Add to a bowl, heat to 45°C and then seed and stir until 27°C. Fill the remaining cavities with chocolate and scrape off the extra. Allow to set overnight.
- Turn out the truffles. If the chocolate is tempered correctly, it should retract from the molds and turn out easily or with some light tapping of the molds. If some are being particularly stubborn, you can pop the mold into the freezer for 2-5 minutes and then try turning them out. It's helpful but it can diminish the shine on your truffles.
Notes
- Mix confectioner’s sugar into the peanut butter to help make solid balls. Add 1½-2cups confectioners sugar to your peanut butter and blend together. You can optionally add ½ tsp vanilla extract. Start with 1½ cups of confectioner’s sugar and taste test. You want the mixture to form a ball and not stick to your hands. Add additional confectioner’s sugar as needed. Fold in the jammy bits, then roll roughly 1 Tbsp balls and set on a baking sheet.
- (Optional) Refrigerate or freeze the peanut butter balls. This can help them keep their shape and firm the filling for coating.
- Replace the 8oz chocolate with chocolate coating. (I recommend Guittard a’peels, or Ghiradelli Coating Wafers.) Skip the tempering steps and melt according to package instructions. Dip each truffle in coating and set on parchment paper or a baking sheet as needed to firm.
- Decorate as desired. Sprinkle with chopped peanuts and crushed dehydrated strawberries, or fun sprinkles. You’ll want to add embellishments directly after dipping while the chocolate is still melted to help them stick!
2 Comments
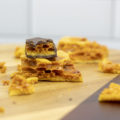
homemade nut butter tagalongs (gluten-free); | Best With Chocolate
August 3, 2023 at 3:13 pm
[…] Flour’s jammy bits to your peanut butter before scooping onto the cookie (similar to my peanut butter & jelly truffles). I topped my PB&J nut butter tagalongs with an extra sprinkle of powder so I could tell the […]
s'mores truffles; | Best With Chocolate
November 30, 2023 at 7:06 pm
[…] holiday truffle guide for all my favorite flavors of homemade truffles! Check out flavors like peanut butter and jelly truffles, or gingerbread truffles, and over 10 more […]