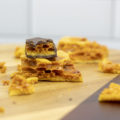
apple cider caramels;
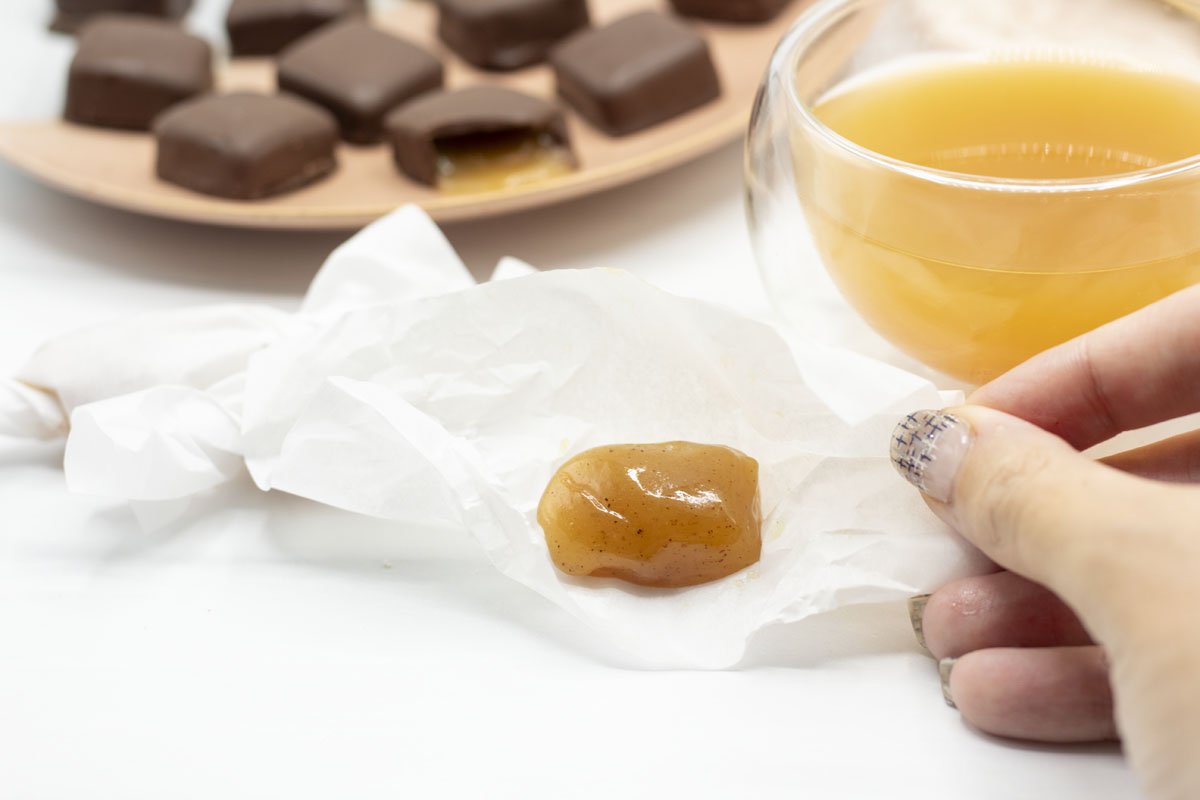

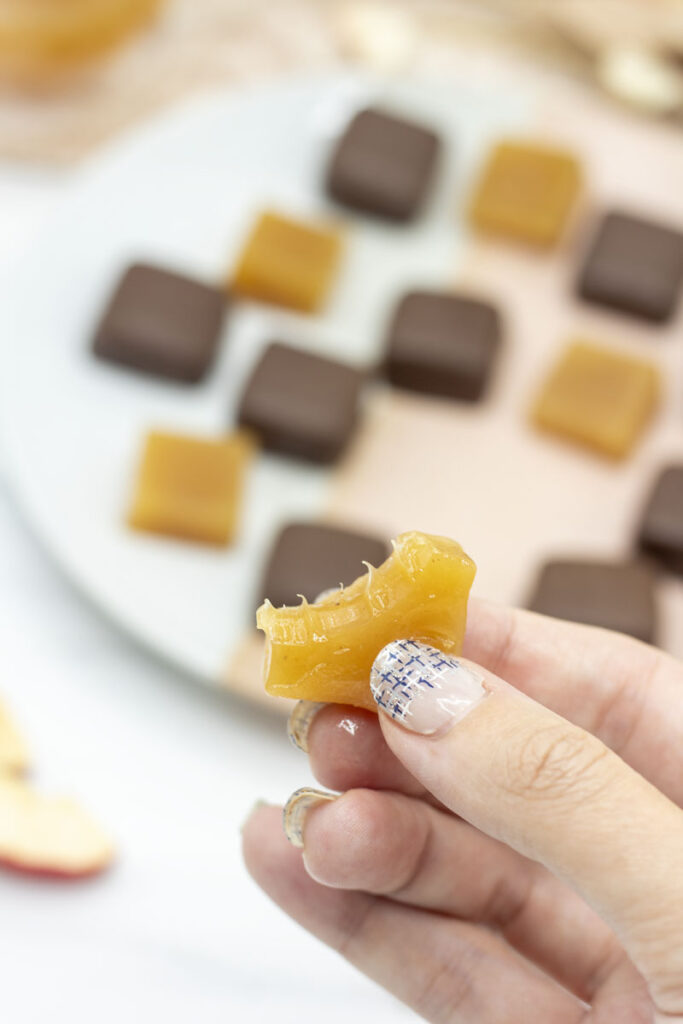
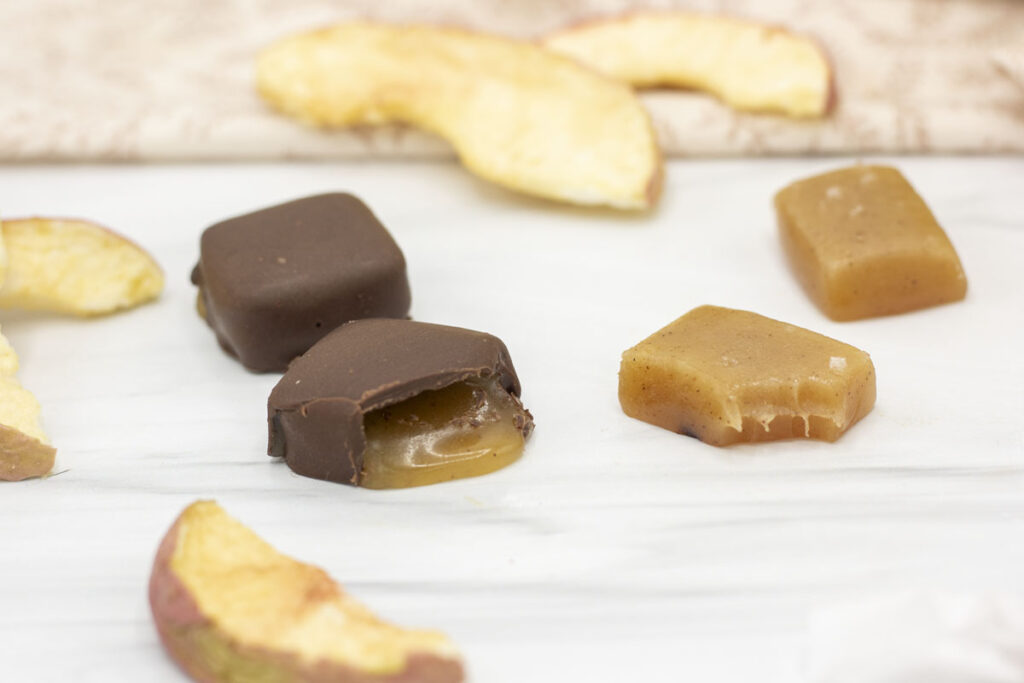
Bite into these apple cider caramels and experience the chewy, melt-in-your-mouth texture of caramel brightened with a sharp pop of apple flavor and warming cinnamon spice. I love a classic salted caramel, but these have just so much apple cider flavor it’s like fall in your mouth.
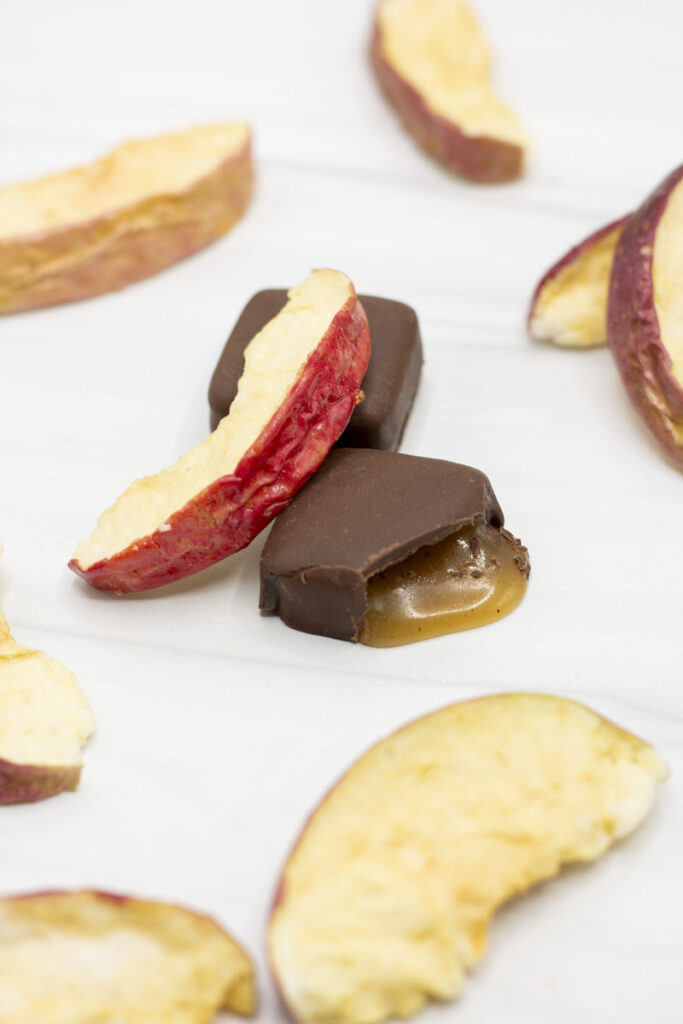
I adapted this recipe from smitten kitchen, but in true Best with Chocolate fashion, I of course had to coat mine in chocolate. I really like the combination of milk chocolate with these apple cider caramels, though I fully admit that they’re delicious without as well!
The key to the apple cider flavor in these caramels is a concentrated apple cider syrup. All you need? Apple cider. You’ll need to boil this down, essentially removing water to get that sharp and tangy apple flavor.
While you can use any cider, my personal favorite is to use a cider made from honeycrisp apples. It has the perfect amount of tartness and sweetness wrapped up in its apple-y flavor. Add a little cinnamon and a little salt to enhance the flavor even more and the apple cider caramels are perfect little bombs of fall flavor.
Once you have your concentrated apple cider, the ingredients for the rest of these apple cider caramels are pretty traditional: butter, sugar, and cream. The sugar lends sweetness and texture, the fats give you that rich, deep taste.
When making apple cider caramels, a candy thermometer allows for exact temperatures and measurements to ensure success. If you don’t have a candy thermometer available, there is an easily accessible way to check your caramel. All you need is a bowl of ice water.
Basically, you drop some of the caramel into the ice water and test the texture. For the most accurate results, you’ll want the water to be icy cold. The colder the water, the better so that it immediately stops the cooking. Make sure you prepare your water early so the ice has time to do its thing. You’re looking for a soft but pliable texture, easily rolled into a ball and gathered together.
The ice water method is simple and requires no special equipment. However, there are a few reasons I still prefer using exact temperatures with thermometers. Making apple cider caramels is a temperamental business.
If you don’t have a candy thermometer available, there is an easily accessible way to check your caramel. All you need is a bowl of ice water.
Secret to success
Using the ice water method can be complicated—one, it’s hard to pin down the exact texture, simply because it’s a little subjective. Second, the caramel keeps cooking while you’re testing. Sure it should be a matter of seconds, but when you’re boiling incredibly hot sugar, the temperature continues to rise and even 10 or 20 seconds can raise a couple degrees. And a couple of degrees can potentially make a difference in your caramel. So I like to control a consistent outcome with a thermometer.
Even with a thermometer, I make sure to stir constantly and take multiple readings of temperature. No pot heats perfectly even, so just because a specific reading reads 252 degrees doesn’t mean the spot one inch over is at 252 degrees.
When it comes to thermometers, you can go classic—think bulb and liquid—or digital. There’s pros and cons to each.
Secret to success
When it comes to thermometers, you can go classic—think bulb and mercury—or digital. (I know they don’t use mercury anymore, but you get the point.) There are pros and cons to each and I’ve used both.
Most classic candy thermometers are pretty large. This is an advantage because you can use the thermometer itself to stir the caramel. This helps it heat evenly, and there’s only one temperature to read anyway.
With a digital thermometer, you get increased accuracy. But typically digital thermometers in a home kitchen have very small probes. This means you’re only taking a localized temperature reading at any given time. Moving the thermometer across the pot will give you numerous variations in temperatures. I usually take multiple temperatures in my pot and make sure at least 2-4 spots read my desired temperature before turning off the heat.
If you struggle with consistency despite using a thermometer (either kind), try calibrating your thermometer in boiling water.
Secret to success
If you find inconsistent results even with a thermometer (either kind), remember you can calibrate your thermometer by testing the temperature of boiling water (212 degrees F / 100 degrees C). Even being off by a few degrees can make a difference when you make apple cider caramels.
secrets to success;
Want all the best tips and tricks to make this recipe a success? Check out the blog post above to find out more!
more recipes;
Looking for other apple-inspired recipes?
- If you like these apple cider caramels made with an apple cider reduction, this punchy apple cider doughnut recipe uses a similar reduction. You might consider making your cider syrup all at once and then making both recipes. Yum!
- Try homemade slow cooker apple butter to keep that warm apple flavor coming all season long!
- Still have some hot days this fall? Well, cool yourself off with a refreshing apple cider slush. The perfect drink for one of those warm fall afternoons when you dressed for the cold morning but that afternoon sun snuck up on you.
- Don’t forget a classic lattice apple pie! Always a hit and made with a bright pop of citrus really brings out the sweetness of the apples.
apple cider caramels;
Ingredients
- 4 cups apple cider
- 8 Tbsp butter (1 stick)
- 1 cup sugar
- ½ cup light brown sugar packed
- ⅓ cup heavy cream
- ½ tsp ground cinnamon
- ¼ tsp salt
- nonstick spray
- flaked salt like maldon (optional, for topping)
- 2 cups chocolate coating (milk chocolate recommended)
Instructions
- Prepare your pan. For thicker caramels I like to use a 9"x5" loaf pan, but if you prefer thinner caramels, use a 8"x8" pan. Spray the pan lightly with cooking spray, and then press a piece of parchment paper into the pan's corners (the spray should help it stick). Spray the parchment paper again on top with cooking spray.
- Reduce the apple cider. Add 4 cups of apple cider to a medium sized pot. Bring to a boil and allow to simmer roughly 45-60 minutes or until it has reduced to roughly ½ cup of concentrated syrup. It may still be runny or start to thicken, but if you taste it (be careful it's hot!) it should pack a punch of apple flavor. Anywhere from ⅓ cup – ½ cup is fine.
- Gather ingredients. While the cider is reducing, prepare the remaining ingredients. In a medium bowl, add ½ cup light brown sugar and 1 cup granulated sugar. Cut 1 stick of butter into ~8 Tbsp and add to the sugar bowl. Set aside. Measure out ⅓ cup heavy cream and set aside.In a separate, small bowl, add together ¼ tsp salt and ½ tsp cinnamon and set aside
- Add to the cider concentrate. Once cider has reduced, remove from the heat and add the sugars and butter. Return to high heat and allow to melt, stirring occasionally. Once the butter is melted and the mixture is homogenous, add in the heavy cream and stir to combine.
- Allow to cook. Allow the mixture to cook on medium-high heat until the mixture reaches 252°F. It's best to stir with a candy thermometer to test the temperatures across the entire pot. If no candy thermometer is available you can cook for roughly 8-10 minutes and drop some caramel into an ice bath. It should firm up and be able to be rolled into a ball. Use thermometer for more exact results.
- Mix in cinnamon. Once the mixture reaches 255°F (252°F if you like softer caramels), immediately remove from the heat. Add in the cinnamon-salt mixture and stir until evenly distributed. Try to break up any clumps.
- Pour into pan. Quickly pour into your parchment-lined pan. Allow to cool for at least 2-3 hours or ideally overnight.
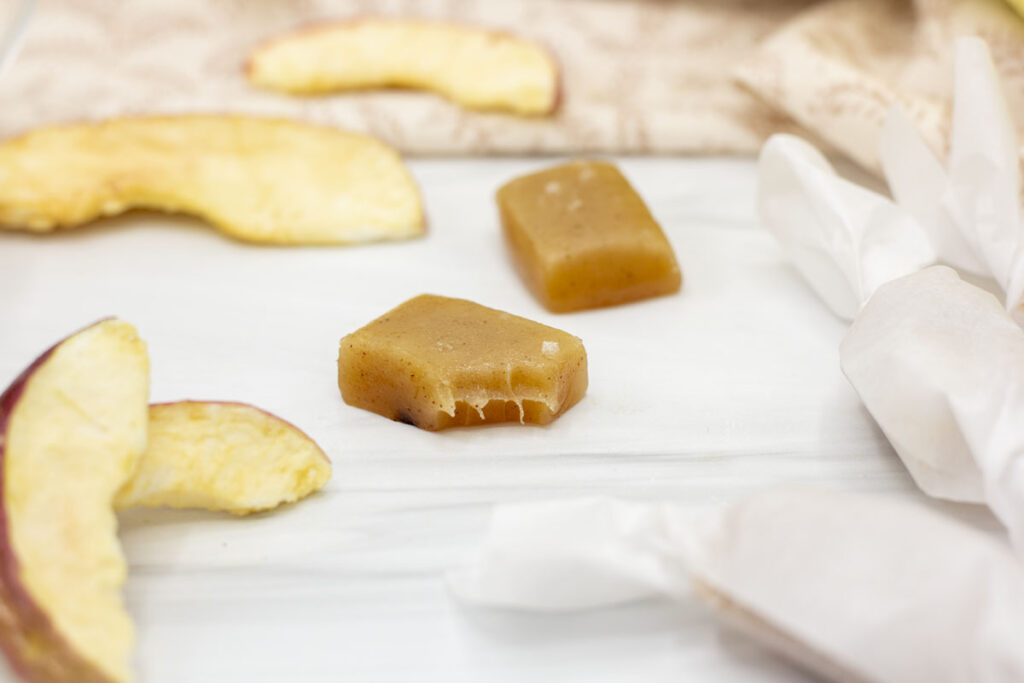
- (Optional) Top with flaky salt & cut. If desired, top with flaky salt. Top the chocolate before it's set, or top the caramels directly. If salting the caramels directly, I recommend sprinkling your flaky salt ~30 minutes after pouring into the pan. If done too soon, the salt will melt a little or become translucent and harder to see. Use the back of your hand to check the radiating heat; the best time is when you can barely feel warmth.
- Cut to desired size. Once the caramels come to room temperature I will usually transfer to the fridge to make them easier to cut with a knife. Slice with a knife to your desired shape and size–if they are sticking to the knife, try wiping the blade with a bit of oil. At this point you can wrap the caramels in wax or parchment paper, and they'll keep in the fridge for several weeks. Or continue on to dip in chocolate.
- (Optional) Coat with chocolate. I recommend refrigerating and freezing your caramels prior to chocolate dipping. Melt the chocolate coating in the microwave according to instructions. I usually microwave mine in 20-30 second increments and stop when the majority is melted, stirring to melt the remaining few lumps. With a fork or dipping tool, dip each caramel in coating, and tap to even out the chocolate. Use a knife or another tool to push onto a piece of parchment or wax paper and allow to set.

1 Comments
Laura
December 30, 2025 at 9:38 am
Fantastic variation on caramels. The flavors go really well together.