hokey pokey honeycomb candy;
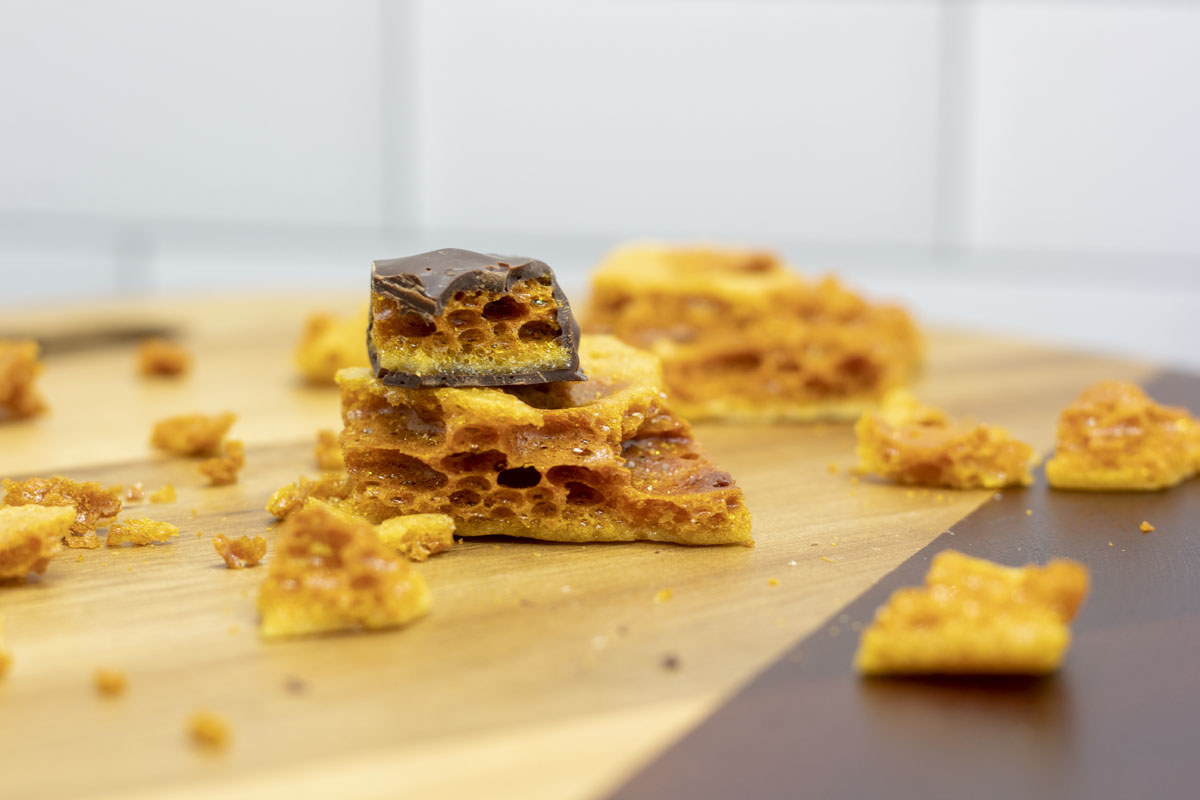
Do the hokey pokey and turn yourself about! Right to the stove to make this delicious, light and airy candy. I had hokey pokey for the first time in New Zealand. I had never heard of it before, but the locals described it as a crunchy honey candy. I never actually had the candy itself when I was there, but rather it flavored a lot of desserts and dishes—deliciously I might add. So we had hokey pokey ice cream and hokey pokey chocolate. We liked it so much we brought a couple Whittaker’s hokey pokey chocolate bars back with us. (We would have brought ice cream if it could have survived the 20+ hour flight…)
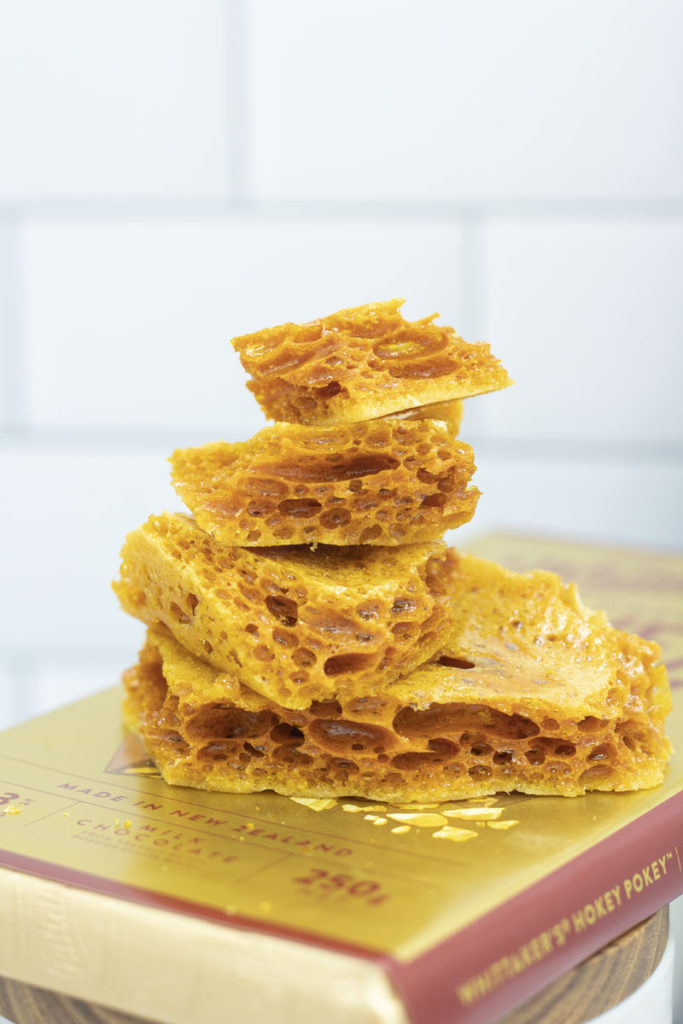
As I was looking up recipes and doing some research, I found that hokey pokey is a regionalized name for honeycomb candy. To be fair, I hadn’t heard of that until my foray into couverture chocolate relatively recently. I’ve found some sources that say hokey pokey is the Cornish term for honeycomb, but then Food Flo has a map that specifies a whole host of regional terms for the candy concept, including sponge candy and cinder toffee. Despite unknown origins, New Zealand is famous for its hokey pokey and specifically hokey pokey ice cream: vanilla ice cream with honeycomb toffee bits scattered through it. Even jumping over to their neighbor Australia, you’ll find it called honeycomb and not hokey pokey. So to me it will always be hokey pokey because New Zealand introduced me to the treat.
Now that we’ve made virtually no progress on the origin of the word, let’s talk about what it’s made of! Hokey pokey is made with three ingredients. Despite the locals describing it to me as a “honey flavor”, there actually is no honey in the classic recipe I tried from the Italian Kiwi. You could make a close approximation using cornstarch and honey most likely. But the ingredient that gives it that golden color and beautiful rich toffee flavor is golden syrup.
I’ve never seen Golden Syrup before so I had to do some more research to see if I could even find it in the US, much less verify whatever I ordered was in fact the right “golden syrup” and not some alternative, knockoff, or different product. After some digging I came across Lyle’s Golden Syrup as the go-to, and lucky for me it’s available on Amazon. The texture is very much like a corn syrup or a very thick maple syrup and the color is true to its name.
Heat the syrup with some plain white sugar until melted and 145°C, and then comes the third ingredient. Baking soda. This is what gives the hokey pokey its iconic “honeycomb” structure with bubbles and air pockets that make it light and airy. Mix the baking soda in right before you pour into the pan and then let it sit.
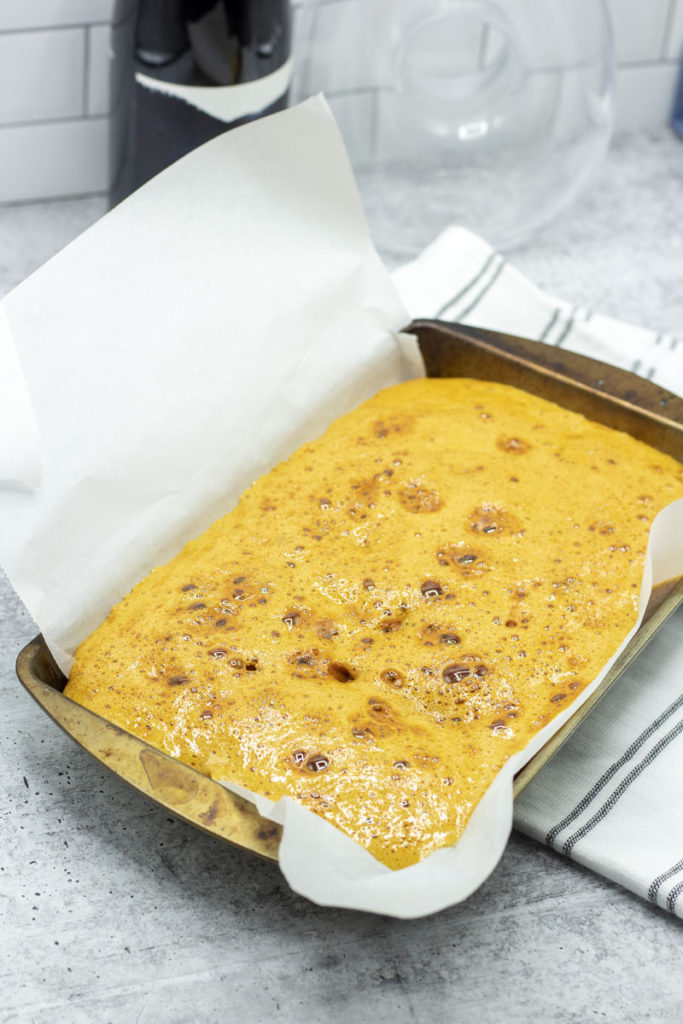
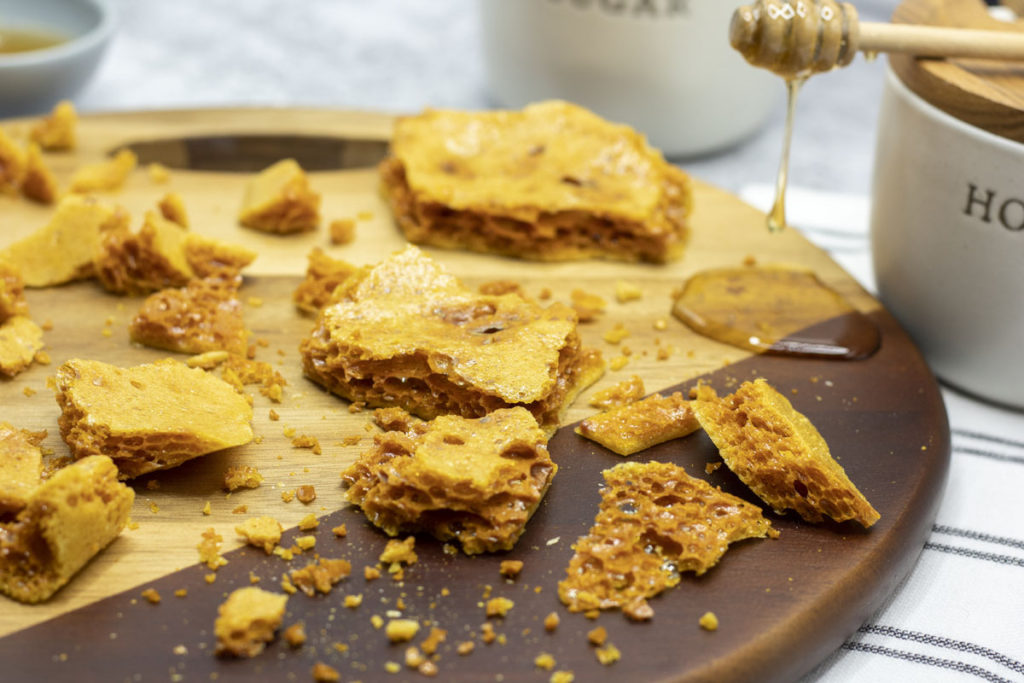
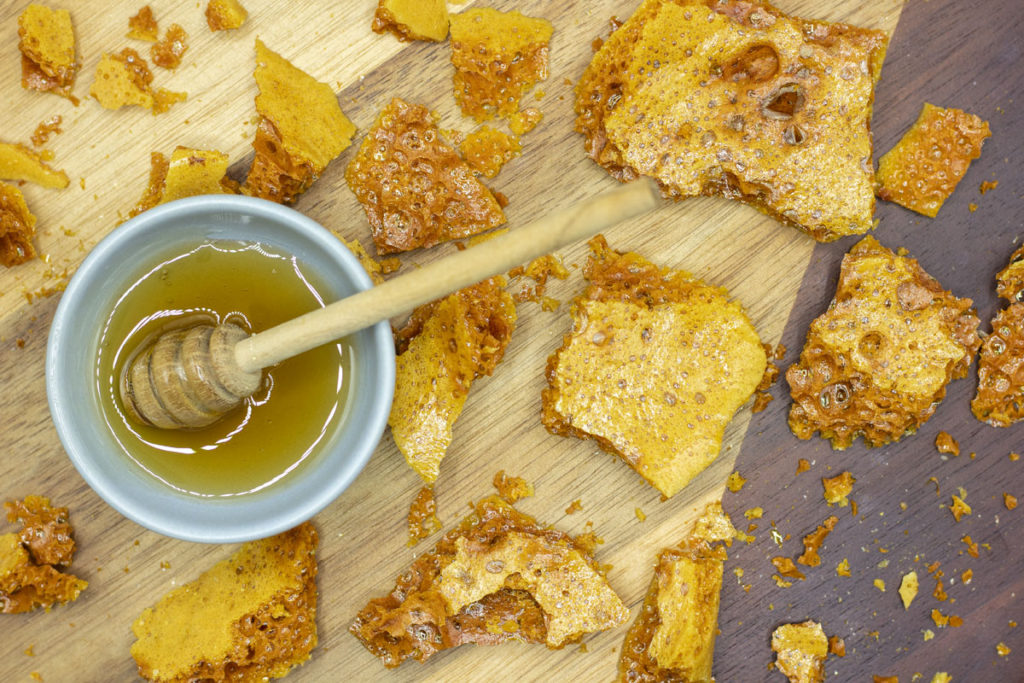
Once it’s cooled, it’s time to break the brick into edible chunks. Honestly, this was the hardest part of the recipe for me! Oh, it broke quite easily—but also messily. I just kind of smacked it against my counter to start and pieces shot everywhere. So be gentle! You’ll get some bigger chunks sure, but you’ll also get a lot of crumbs and shards breaking off so it can get messy pretty quick. (My poor kitchen floor!).
I tried a couple options to help with the honeycomb shrapnel and here’s what I found. One option is the kitchen sink, especially if you have a deep sink. However, this is not the safest option because a sink is naturally predisposed to water and you want to avoid moisture around the hokey pokey. So what worked best for me was dropping the candy into a large pot with relatively high sides. The candy will be brittle, so a stainless steel pot would be ideal so you don’t scratch nonstick coating. But you can get creative too. I happened to have my slow cooker out and dropped the hokey pokey in the basin of my slow cooker. The sides were high enough that it did a good job of containing all the broken pieces.
So now that you have hokey pokey, sprinkle it on ice cream, baked goods, or chocolate! Or just nibble on it straight—it is candy after all!
secrets to success;
- The key here is golden syrup. Try Lyle’s brand golden syrup, available from Amazon. This syrup provides the rich amber color and deep caramelized flavor that makes hokey pokey what it is.
- Be ready to move quick when you get to the baking soda addition. The mixture will bubble up and react to the baking soda, so you need to mix it through and then pour it quickly into your prepared dish before it cools. Don’t touch it! It’s hot, sticky sugar and it will stick to you and can cause burns.
- When breaking apart the candy, it tends to send honeycomb shrapnel with it. I recommend dropping it repeatedly into a pot or hard container with high sides to keep some of the mess contained. My slow cooker basin worked great for me, compared to tapping it on the counter.
Interested in learning more about New Zealand?
- Check out a play by play of our entire two week honeymoon trip in New Zealand—or as I like to call it: our Kiwimoon!
- To make our favorite orangey New Zealand cocktail at home, check out The Salted Lady.
- Or pick up some New Zealand Pinot noir, and make red wine truffles.
hokey pokey honeycomb candy;
Ingredients
- 4 Tbsp golden syrup
- 10 Tbsp sugar
- 2 tsp baking soda
- butter, for greasing the pan
- chocolate or candy coating (optional)
Instructions
hokey pokey;
- Grease an 7"x11" pan with butter. I like to leave it as a stick and rub it across the pan and partway up the sides. If you don't have a 7"x11" pan, you can use a different size, but the thickness of your hokey pokey may vary depending on the surface area available.
- Measure out the 2 tsp. baking soda and set aside in a small dish.
- Add the 4 Tbsp of golden syrup, and 10 Tbsp of sugar to a medium pot and heat over medium. Stir continuously until sugar and syrup have dissolved.
- Simmer for 5 minutes, or use a candy thermometer to check the temperature reaches 145-150°C (293-303°F).
- Immediately remove from the heat and add the 2 tsp baking soda. Stir vigorously as the mixture foams and bubbles, and as soon as the baking soda is fully incorporated, pour into the prepared pan.
- Do not touch the liquid sugar as it sets, as it is extremely hot and will stick to your skin and badly burn you. Allow to cool for at least an hour, up to overnight.
- Break the hokey pokey into pieces. It's very brittle and will break on it's own when dropped on a hard surface. I recommend dropping it in a pot with sides to contain the brittle pieces and make for easier cleanup.
chocolate coating;
- (Optional) To make chocolate covered hokey pokey, melt chocolate candy coating or temper chocolate, and dip pieces of hokey pokey into the chocolate. Coat small pieces entirely, or half dip some of the big pieces and leave the honeycomb exposed.



1 Comments
dairy-free maple vanilla oat milk ice cream; | Best With Chocolate
February 18, 2022 at 8:05 am
[…] sweeten this ice cream, and it's the perfect base to add chocolate chips, sprinkles, or crushed hokey pokey honeycomb toffee for endless flavor […]