sweet corn mochi cornbread;
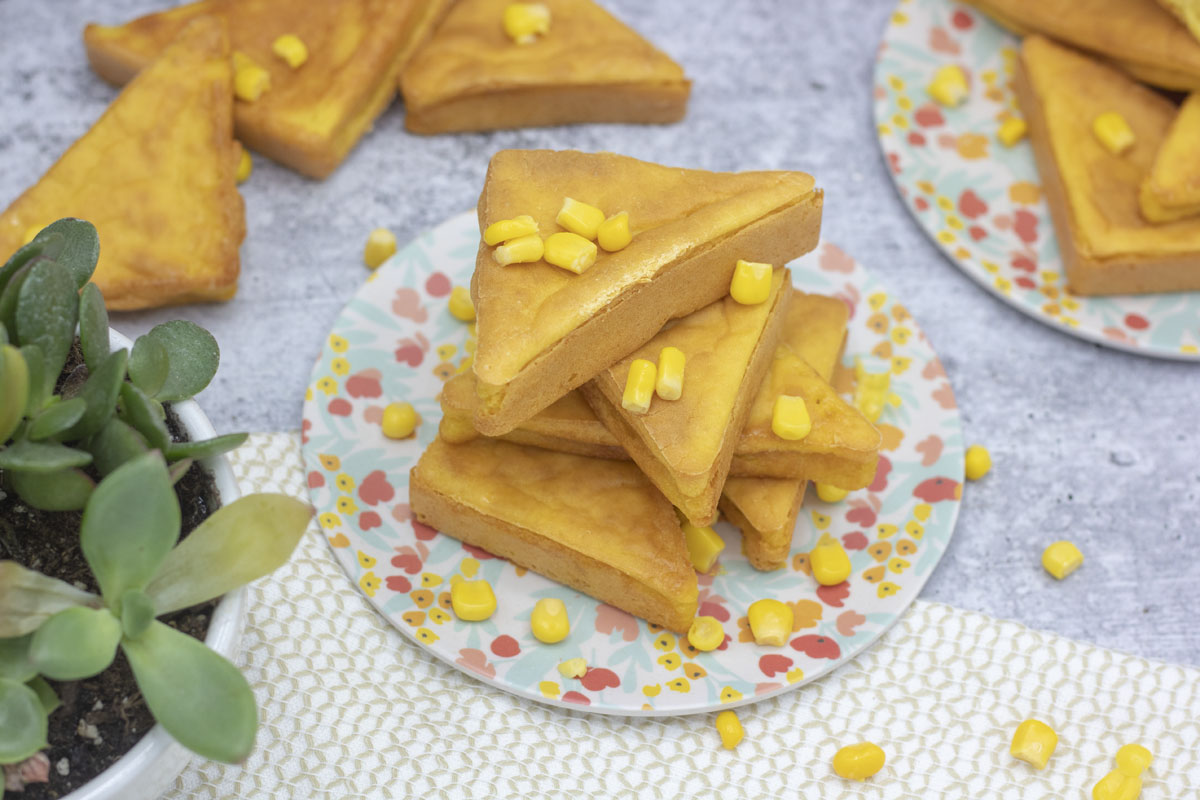
Try a new take on cornbread! These sweet corn mochi cornbread cakes are full of summer corn flavor with that perfect hint of sweetness and a springy, bouncy bite. If you like unique or chewy textures, this recipe is for you! I took the idea for this recipe from the food network, but reduced down the sugar greatly to let the natural sweetness of the corn shine through on it’s own.
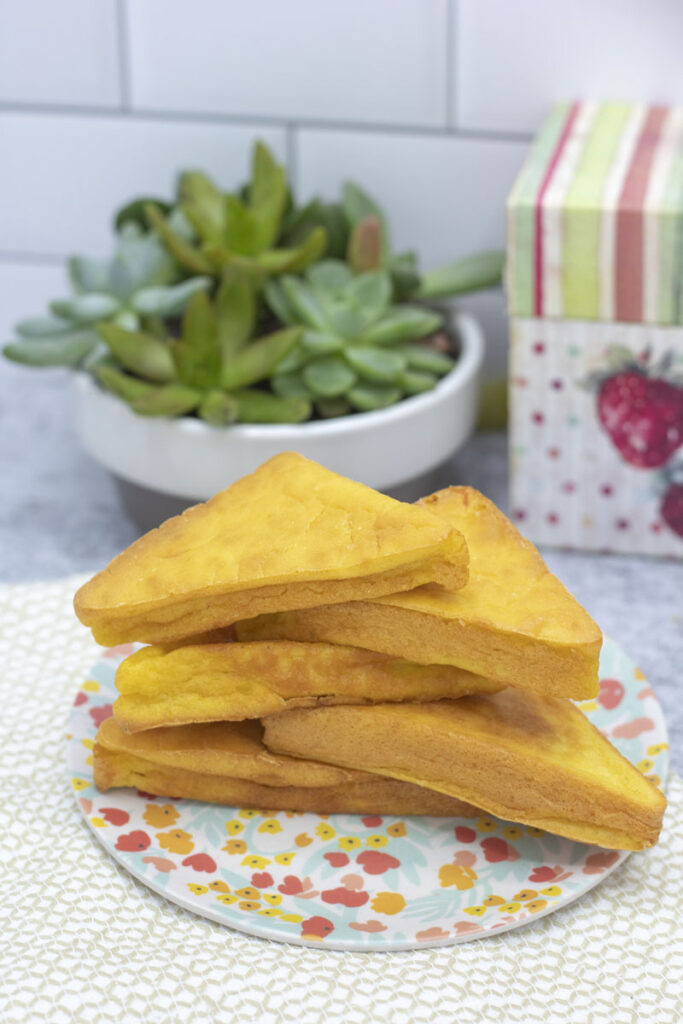
If you’ve never had a mochi, I’ll do my best to explain it to you. It’s soft and silky in texture, made with finely ground glutinous rice flour. But it has a bit of resistance to it, a satisfying chew that’s very distinctive. If you like trying new textures definitely make these sweet corn mochi cakes! If you’re looking for a more traditional corn bread texture then my go-to has always been mexican corn bread.
First things first, what kind of corn? Fresh corn works great. Cook or boil the corn according to your preference, then slice off the kernels. It’s perfect if you made corn earlier in the week or have leftovers from a cookout. But if corns not in season, or you want to skip cooking the corn, just grab roughly 2 cans of corn off the shelf. Not creamed corn, just your straight up canned corn kernels. Pre-cooked and ready to go, you can skip the cooking step.
Use fresh corn if desired, but if it’s not in season or you want to skip the step to prepare the corn, then reach for a couple cans of sweet corn!
secrets to success
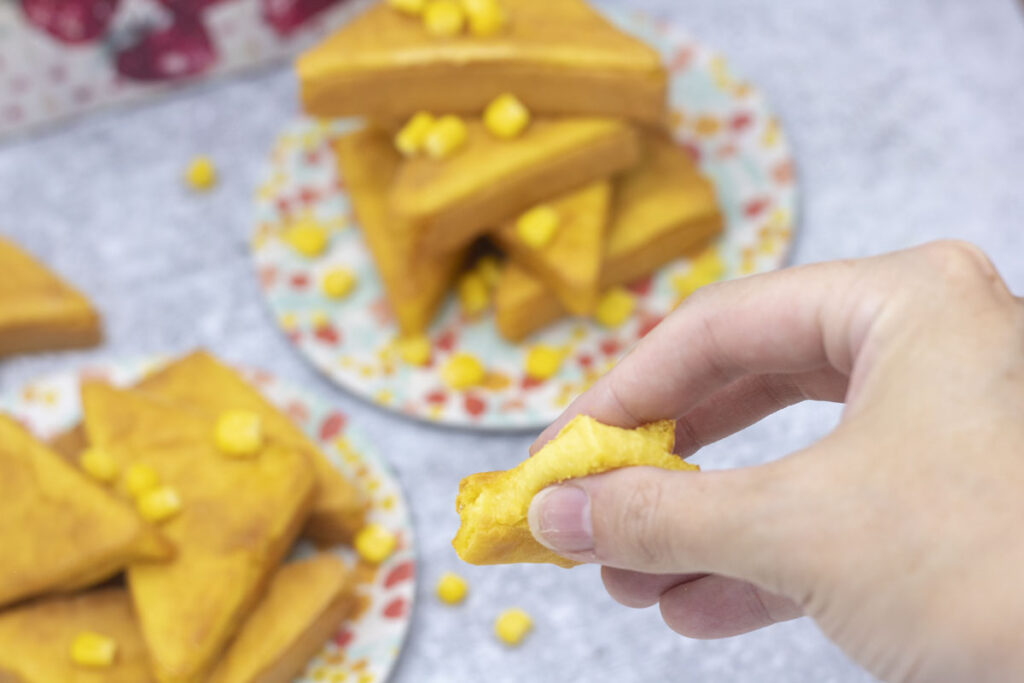
Second things second, then, make sure you’re using glutinous rice flour, also known as sweet rice flour. Everything about this ingredient is a learning opportunity. Despite both names, sweet rice flour isn’t sweet; nor does it have gluten in it. But it does create the distinct chewy mochi texture that I love in this slightly sweetened mochi cornbread.
To get the mochi cake texture you need sweet rice flour, also known as glutinous rice flour.
This is different than plain “rice flour” so make sure you’re looking at the labels. Even though they call it sweet rice flour, it’s not sweet on a sugary level. In subtleties, the sweet rice strain it’s made from is mildly sweeter than a lot of traditional rice grains, but it’s not “sweet” like candy or cake are sweet. The sweetness in sweet corn mochi cakes comes from the natural sugars of the sweet corn.
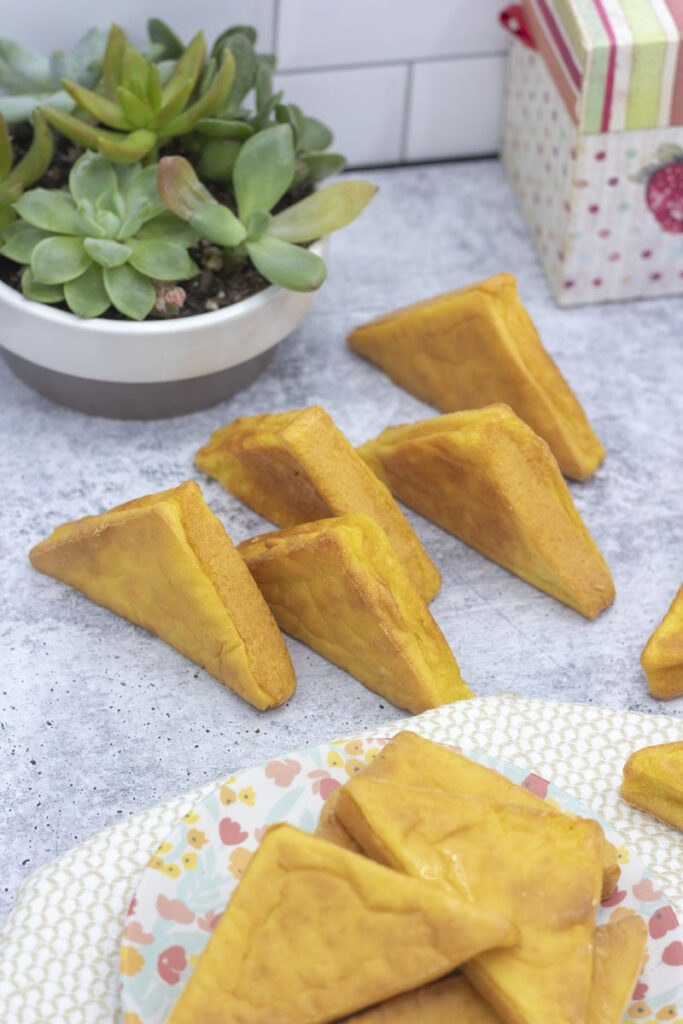
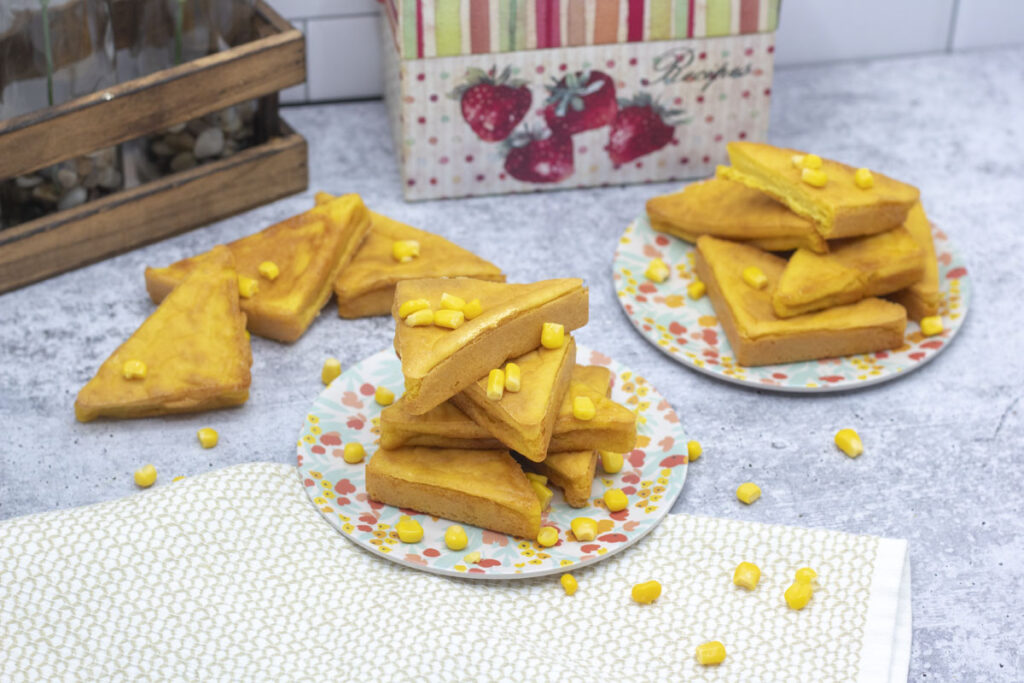
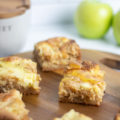
When I made my sweet corn mochi cakes, I used a mini scone pan that I had lying around to form the nice rounded-edge triangles you see here. I think the individual cornbread pieces help add a crisp outside to each piece which I love. The outside layer crackles slightly, but gives way easily to the bouncy texture inside. If you don’t have this very specialized pan, though, then pour the batter into an 8”x8” pan and cut into squares or triangles. It works just as well and turns out just as tasty!
Serve as fresh as possible. Direct from the oven is always a hit, or use a toaster, toaster oven, or airfryer to reheat.
secret to success
Keep in mind that your mochi cakes are best served hot and fresh, and while they’ll last for a day or two in your fridge, they can lose some of that chewy texture over time. So serving them close to baking is ideal. The chewy mochi-texture can diminish over time.
If you do have leftovers and want to reheat the sweet corn mochi cakes, try a toaster oven, toaster, or air fryer. Using a convection oven means the outside edges crisp up again and while it’s not the same as serving fresh from the oven, it’s pretty darn close.
secrets to success;
Want all the best tips and tricks to make this recipe a success? Check out the blog post above to find out more!
more recipes;
Need other side dishes for your table? Check out these delicious recipes:
- Cheesy buffalo chicken dip is a perfect appetizer to any meal! Tangy, shredded chicken in a cheesy dip with a little bit of heat to keep you coming back for more!
- Looking for another cheesy, chewy bread? Try these Pao de Queijo a deliciously cheesy, chewy side dish, often found at Brazilian steakhouses.
- For a delicious, healthy veggie side dish to go with your meal, look no further than parmesan zucchini.
sweet corn mochi cakes;
Equipment
- high powered blender or immersion blender
Ingredients
- 2 ½ cups corn kernels (2-3 cobs, or use slightly less than 2 15oz cans sweet corn kernels, drained)
- ½ cup coconut milk
- ¼ cup butter melted and cooled slightly, plus more for greasing baking pan
- 1 Tbsp brown sugar
- 2 large eggs
- ½ tsp vanilla extract
- 1 tsp baking powder
- ½ tsp salt
- 2 cups glutinous rice flour also known as Sweet Rice Flour
Instructions
- Slice kernals from the cob if using fresh corn until you have 2½ cups kernels. If using canned, drain two cans of corn kernels and measure out 2½ cups corn. Add to high powered blender (or a bowl if using immersion blender).
- Add in ½ cup coconut milk and blend on high until smooth.
- Melt ¼ cup butter in the microwave, then add to the corn mixture along with 1 Tbsp brown sugar, 2 large eggs, ½ tsp vanilla, 1 tsp baking powder, ½ tsp salt. Blend again on high until mixed thoroughly.
- Add 2 cups glutinous rice flour to the blender. You may find it easiest to mix together manually until the mixture begins to even out, then start on slow blender speed and slowly increase to high. If thick or sticking, add 1-2 Tbsp additional of coconut milk.
- Prepare a square pan with cooking spray or butter, then pour the mochi corn mixture into the pan.
- Bake at 350°F for 60 minutes or until edges are crispy brown. Remove from the oven and place corn cakes on a wire rack to cool. This helps ensure a crispy outer texture with a soft and chewy center.
- Allow to cool completely before cutting into 12-16 squares and serving. This will help the sweet corn cakes reach optimal chewiness. Note that the chewiness will decrease after a day or two.

5 Comments
ice cream mochi; | Best With Chocolate
July 26, 2023 at 4:23 am
[…] Don’t stop at ice cream! Make these fresh strawberry mochi or use natural peanut butter for an amazingly delicious take on mochi. Or opt for a surprising but amazingly chewy and delicious alternative to cornbread with these sweet corn mochi cornbread cakes. […]
healthful gluten-free lactation cookies; | Best With Chocolate
March 18, 2024 at 9:47 pm
[…] Harissa bulgur rice pilaf is not a gluten-free recipe, but if you’re looking for a new whole grain to add to your diet, this is a smash hit side dish! For a gluten-free side dish, check out this sweet corn mochi cornbread~ […]
avocado caprese salad; | Best With Chocolate
August 11, 2024 at 9:13 pm
[…] Sweet corn mochi cornbread is a corn-tastic side dish! It takes everything you know and love about cornbread and adds a new texture to this classic side dish. […]
sweet cinnamon focaccia; | Best With Chocolate
October 20, 2024 at 5:41 pm
[…] a fun take on a fall cornbread, try this sweet corn mochi cornbread which is a chewy bread, but still packed with all of your slightly sweet cornbread flavors. Or […]
stuffed carrot cake cookies; | Best With Chocolate
March 14, 2025 at 11:35 pm
[…] a savory-sweet treat, try this sweet corn mochi cornbread. It’s got such a chewy texture that’s really satisfying as a side dish, and a perfect […]