chocolate chip melon pan (メロンパン);
If you’re not familiar with Japanese food and culture, I bet you’re scratching your head over the name. Just what is chocolate chip melon pan? What is this strange concoction?? Well, it’s an amazingly soft and fluffy sweet bread you need in your life!
Okay, but glib answer aside, what is it? Let’s start at the top. “Pan” or パン is the japanese term for bread. It’s adapted from Portuguese, likely brought over from Portuguese missionaries. If you’re not familiar with Japanese history, the Portuguese were the first Europeans to arrive in Japan and brought a lot of new technologies, words, and influence to Japanese culture. You’ll probably recognize “pan” and derivatives of the word for bread in other European and Latin based languages. “pan” in Spanish or “pain” (pronounced pan) in French. In America you may be familiar with “Au Bon Pain”, the restaurant chain.
(If you want an amusing abbreviated history of Japan, go check out this “History of Japan” video. It’s hilarious and does not take itself seriously, and neither should you! But it shares some interesting facts, like the Portuguese were the ones to first visit Japan.)
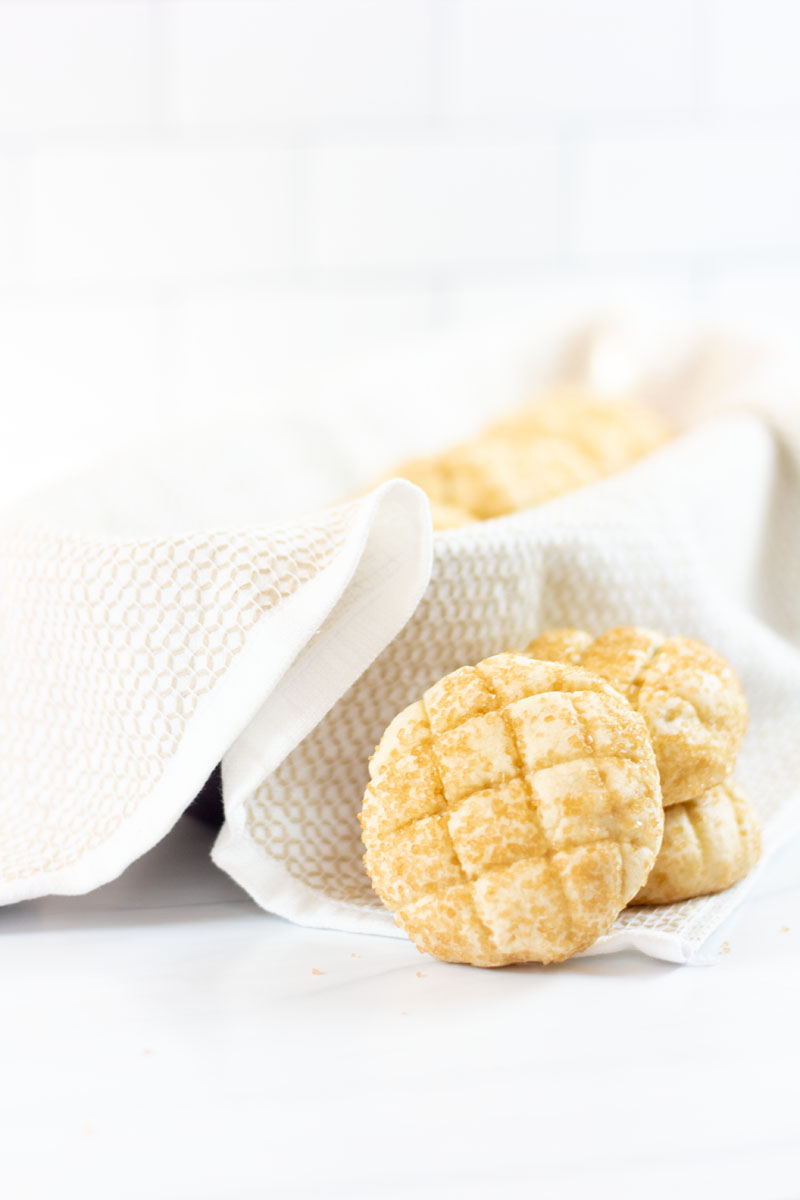
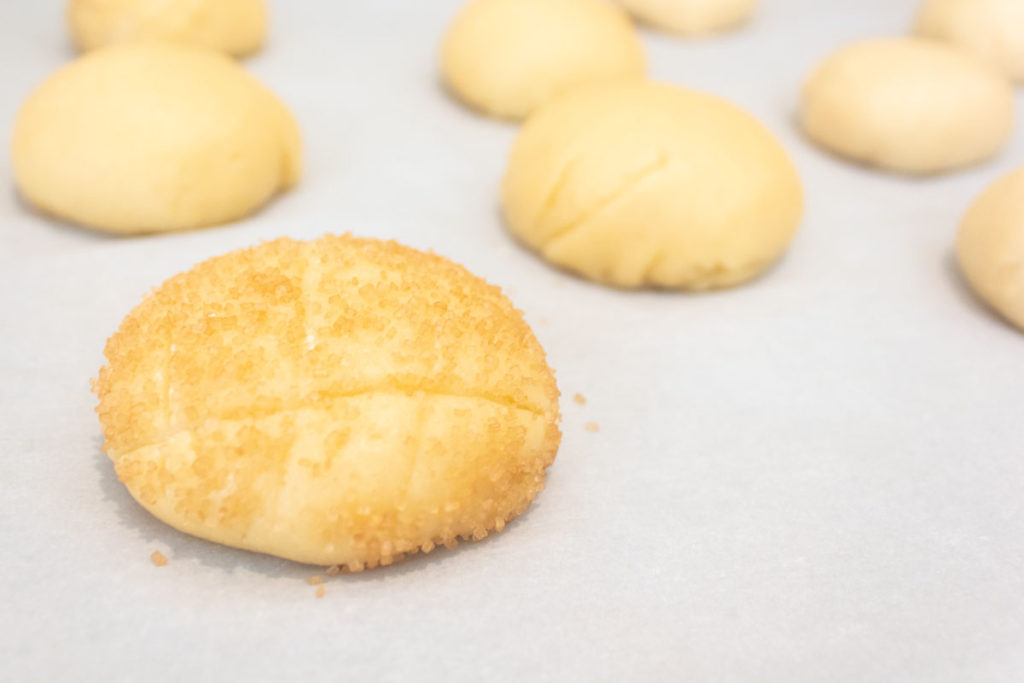
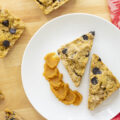
Okay, so we’ve established that this is bread. But melon pan or メロンパン? Melon pan is a sweet bread, covered in a crusted sugary biscuit layer with horizontal lines. Like any food that’s been around a long time (for good reason), the origin of the name isn’t clear. Some say that it resembles the prized makuwa melon (マクワウリ, also known as Oriental Melon) and that’s where the name originated. Others say that the cookie crust dimples and looks like a muskmelon rind (e.g a cantaloupe). It’s also been introduced as “sunrise bread”, and is still called by that name in Kansai, and occasionally outside of the area.
The origins of this bread don’t actually include any melon. Some bakeries have adapted recipes to use melon or honeydew purée or flavors, and others incorporate a green color to further play on the melon in the name. But the original recipe does not require melon, though you might think it does given the name and recipe variety.
Whatever the reason for the name, melon pan holds a special place in my heart. I had never heard or tried it until I studied abroad in Japan. And it’s just so darn tasty and addictive. It was a surprise to me just how much the Japanese love bakeries there.
Japan as a culture has a lot of fascination with French food and cuisine and they have a particular love for bakeries and pastries. We would often stop by bakeries for quick lunches or snacks, grabbing both sweet and savory buns. I’ve tried so many delicious things at those bakeries, but I think Melon Pan really stands out as unique. The crackly texture of the biscuit top, the soft and fluffy bread, and the perfect amount of sweetness is just a heavenly experience.
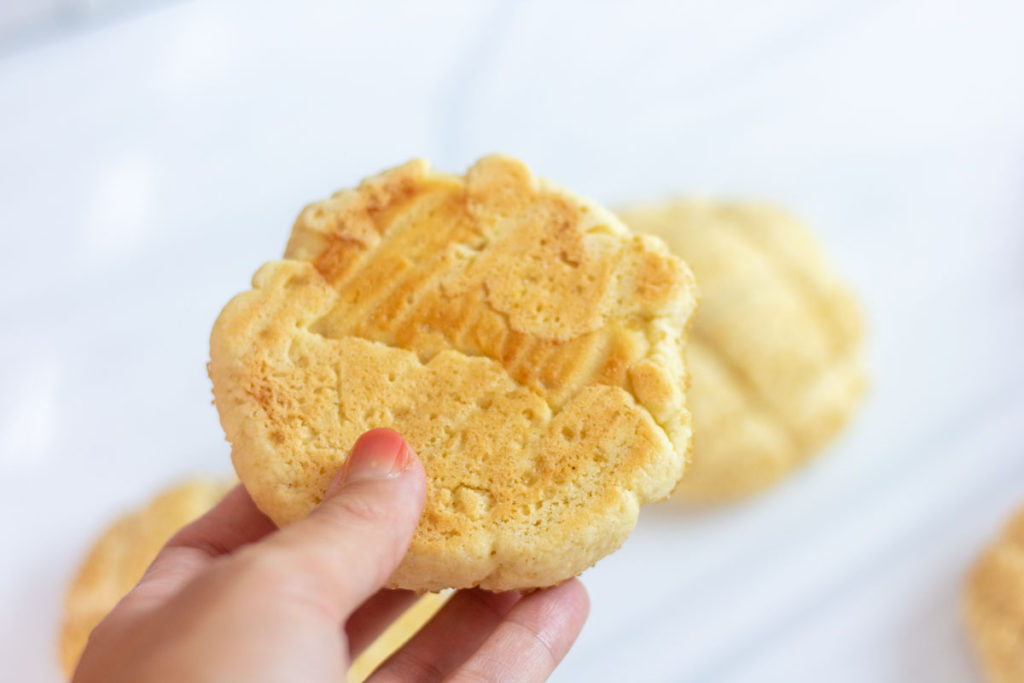
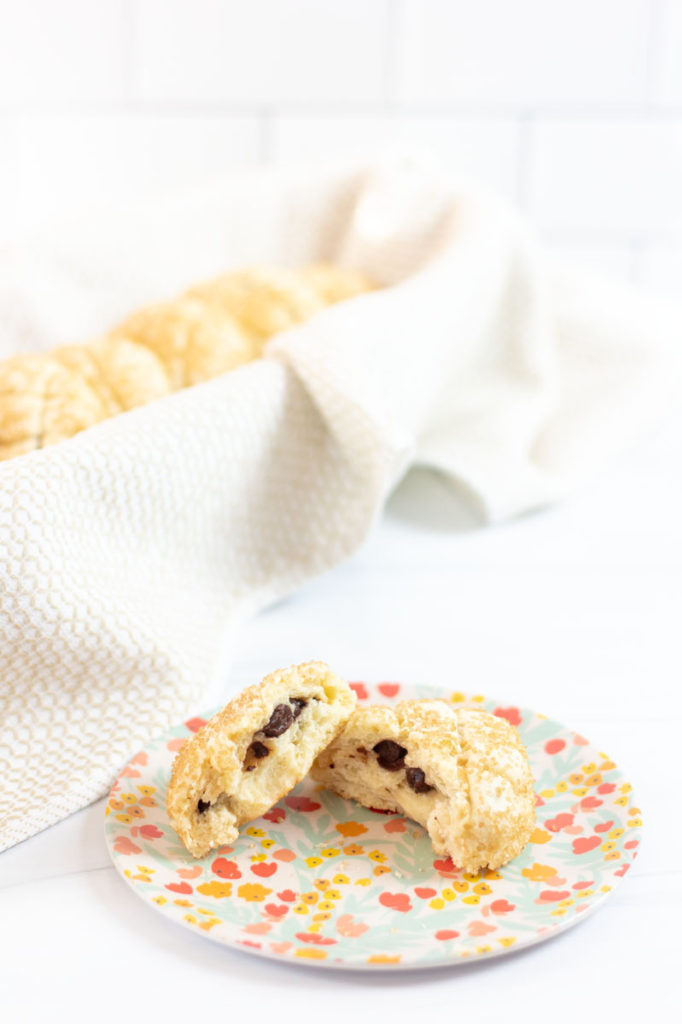
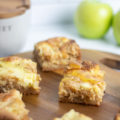
And of course I had to try a version with chocolate! I actually made three different batches of these guys to test. The lesson from my first batch: I like a thin cookie dough crust, and don’t over bake them! I really didn’t love the recipe I used the first time around, even though it did use melon.
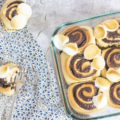
The next two batches used the same recipe. The second test’s lesson: DON’T FORGET THE CHOCOLATE! The melon pan turned out wonderfully light and perfect, except for the part where it’s not chocolate chip melon pan without the chocolate. For the third batch I experimented with a bread maker, but messed up proofing times and rising. I also almost forgot the chocolate chips again. 😅 What even am I doing? Luckily I caught it before I baked them and added them in last second.
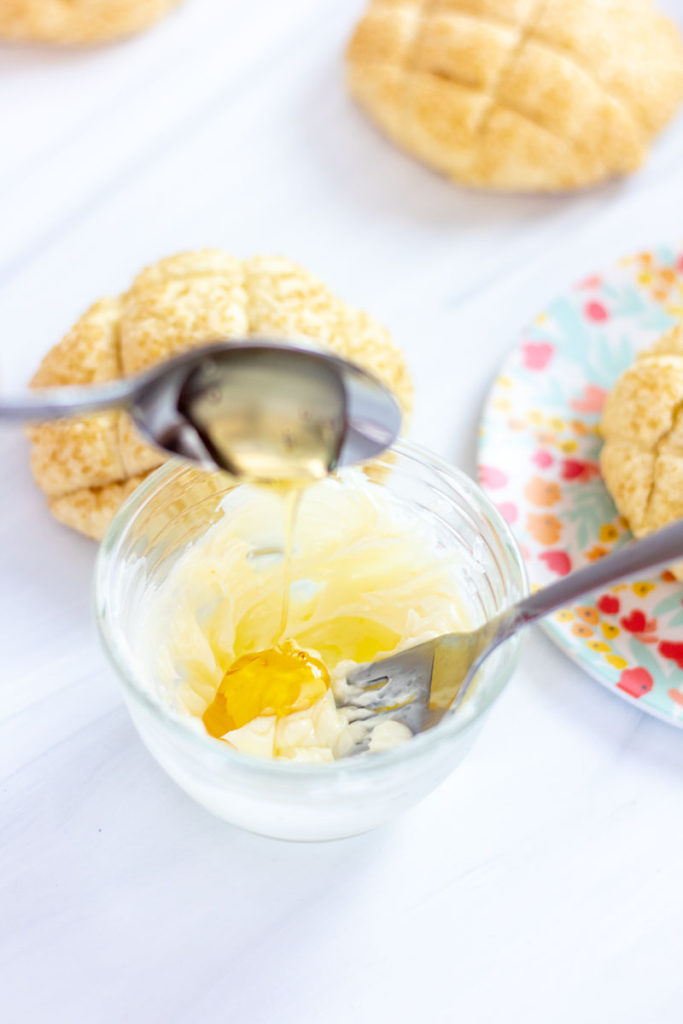
If eating melon pan as a sweet bread by itself, I definitely prefer the chocolate chips. They’re not required, this bread is absolutely delicious on its own without the chocolate! Its not traditional, but especially if you don’t add the chocolate chips, try eating these with some honey butter. It’s ah-maxing. That extra salty-sweet combo just makes an amazing sweet bread even more delicious!
Secrets to Success:
- Don’t forget the chocolate chips! This recipe is long and involved. Don’t assume you’re going to remember. I didn’t, in two separate batches.
- Eat with honey butter for extra wow. Just mix together salted butter and honey, and spread it on your melon pan.
- Lay out all your ingredients ahead of time—this is a pretty involved recipe that takes some time and dedication. Follow the instructions carefully to ensure maximum rise, fluffiness, and flavor.
If you’re looking for other Japanese-inspired recipes, check out these:
- Looking for something savory? These shrimp tempura bowls are an amazing dinner or lunch.
- For my hardcore Japanese lovers, try out this quick snack of honey drenched umeboshi (pickled plums).
- Feeling chilly? Classic miso soup will never steer you wrong!
- Need that sushi experience, but without a crazy amount of work? These california roll shrimp stacks make your weeknight sushi date possible, no sushi mat required!

chocolate chip melon pan;
Ingredients
Bread Dough
- 3½ Tbsp whole milk (50 ml) If you don't have whole milk but do have milk and cream available, sub 1 Tbsp. heavy cream + 2½ Tbsp milk.
- 1¼ tsp active dry yeast (4 g)
- 1 ¾ cups bread flour (225 g) + extra for sprinkling
- scant ¼ cup cake flour (25 g) No cake flour? Make homemade cake flour with flour and corn starch. Replace cake flour with ½ Tbsp cornstarch + ⅛ cup all-purpose flour
- 1 tsp kosher/sea salt (3 g) I use Morton sea salt; Use only ½ tsp if using table salt
- 3 Tbsp sugar (40 g)
- 1 large egg, beaten (50 g with no shell)
- 3 ½ Tbsp water (50 ml)
- 2½ Tbsp unsalted butter (35 g) cut into small cubes while cold, then allow to come to room temperature
Biscuit Dough
- 4 Tbsp unsalted butter room temperature (60 g)
- ½ cup sugar (100 g)
- 1 large egg, beaten (50 g w/o shell)
- 1½ cups cake flour (200 g) No cake flour? Make homemade cake flour with all-purpose flour and cornstarch. Measure 1 ½ cup all purpose flour, and replace 3 Tbsp with cornstarch.
- ½ tsp baking powder (2 g)
Toppings
- 2 Tbsp raw sugar can also sub regular sugar
Instructions
Bread Dough
- Measure milk and water into a measuring cup. Heat in the microwave for 20 seconds and make sure liquid is not hot, only warm to the touch. Add the yeast and set aside for 5 minutes. (Note: if using instant yeast, you can skip this step and add yeast to dry ingredients, and add milk when adding wet ingredients.)
- In a large bowl, whisk together dry ingredients: 225 g (1 ¾ cup) bread flour, 25 g (scant ¼ cup) cake flour, 40 g (3 Tbsp) granulated sugar, and 3 g (1 tsp) kosher salt.
- Whisk egg in a small bowl and add to dry ingredients. Add yeast slurry once it becomes fragrant and frothy.
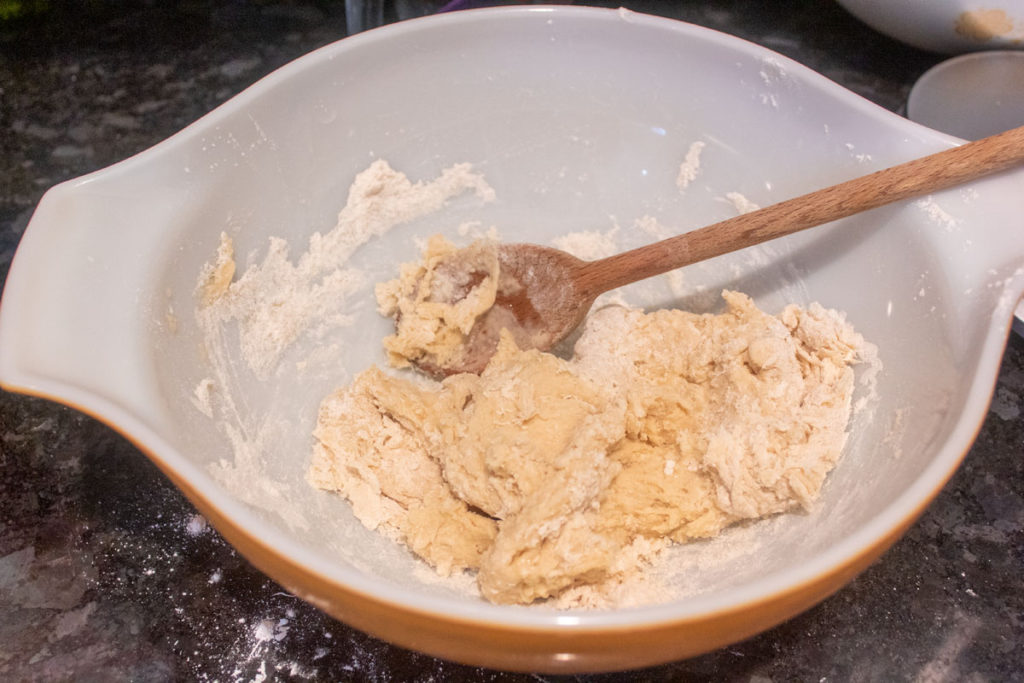
- Using a spatula, spoon, or your hand, mix together. Dough will be sticky but should come together.
- Lightly flour your work surface for kneading and turn out the dough.
- Flour your hands. Knead the dough for 3-5 minutes, using the heel of your hand to press forward and folding the dough back in on itself. Turn after every fold so you’re kneading in a slightly different direction. If dough begins to stick to surface or hands, lightly re-flour them.
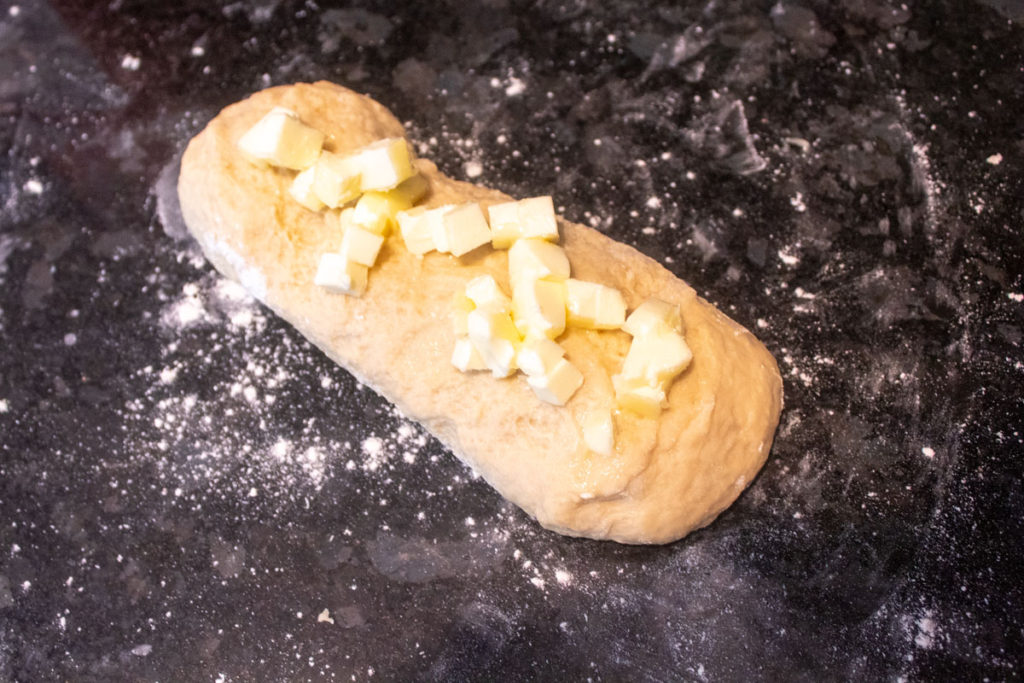
- When dough is elastic, stretch into an elongated log form. Lay the room temperature butter cubes (2½ Tbsp) atop the dough and tuck the dough around them.
- Resume the kneading process. The dough and your hands will become wet and sticky again, so expect the dough to stick to the counter. A bench scraper is the best option here to grab sticky blobs. Continue to knead and stretch until dough is silky smooth and butter has been worked in. As it becomes more elastic you can use another sprinkle or two of flour to help with kneading, but try to minimize adding more flour at this stage.
- Shape the dough into a ball and add to a medium bowl. Cover with plastic wrap and set in a warm place. Allow to rise until it’s doubled in size, approximately 1-2 hours. You can also use a proofing drawer or setting if it’s available to you.
Biscuit Dough
- In a large bowl add the 60g (4 Tbsp) room temperature butter and 100g (½ cup) sugar. Mix until smooth.
- In a small bowl, mix the second egg. Tip a little bit in, mix until combined, and then continue until egg is incorporated.
- Add 200g cake flour ( or 1½ cup with 3 Tbsp replaced cornstarch) and 2 g (½ tsp) baking powder into the mixture.
- Mix well until all ingredients are incorporated. Gather into a ball.
- Cut the dough into 10 equal pieces. For more exact measurements use a scale and measure the total dough, then divide evenly. You can always pinch dough off a larger ball to add to a smaller one.
- Roll each portion of dough into a ball and lay on a parchment paper lined baking sheet.
- Cover with plastic wrap and place in the refrigerator for 10 mins or longer to firm up.
Shaping and Baking
- Once the bread dough has doubled in size, turn it out onto a lightly floured surface. You can also test the doughs readiness by poking a finger in the center of the dough and ensuring it doesn’t collapse in on itself.
- Press down the dough to deflate and release gases that have been built up. Scatter the chocolate chips across the dough. Flatten the dough to a rough rectangle shape. Fold the dough in thirds over itself, then rotate and repeat.
- Form into a ball, and cut 10 equal portions. Again, for more precise measurements use a scale to measure them.
- Remove cookie dough from the fridge. Place a ball between two pieces of plastic wrap. Using a rolling pin, roll out until thin. I like to make mine on the thinner side, so mine are approximately 4-6” in diameter.
- Remove cookie dough from plastic, and hold in your hand. Add a bread dough ball to the center, and trim excess cookie dough. Use your hand to cover the bread dough with cookie dough (it’s ok if it doesn’t completely cover the bottom.). Place on a parchment paper lined baking sheet.
- Repeat previous step for all remaining cookie dough and bread.
- Pour raw sugar into a small bowl or dish. Add each dough ball top-down to the dish and press lightly to coat with sugar.
- Use a knife or bench scraper to make 3 even lines in the dough, then quarter turn and draw 3 even lines again to form a crosshatch pattern. The dough is soft and squishy, so you’ll want to press carefully. The goal is not to cut through the cookie dough, but indent it. That said, it’s perfectly fine if you cut through the dough in places.
- Repeat previous two steps for all remaining dough.
- Allow to rise for 50 minutes or until dough has risen again to approximately 1.5x its size.
- Bake for 13-15 minutes. Rotate pan as needed for even baking.
- For purely aesthetic reasons, you can re-trace the crosshatch pattern if you'd like while the bread is still warm. Allow to cool before serving. Even if it’s not traditional, I love serving with honey butter!


2 Comments
HTODAv
October 17, 2020 at 9:29 pm
325053 244903Merely wanna state that this is very beneficial , Thanks for taking your time to write this. 53737
URL
October 17, 2020 at 9:34 pm
… [Trackback]
[…] Read More here: bestwithchocolate.com/chocolate-chip-melon-pan/ […]