salted caramel sauce;
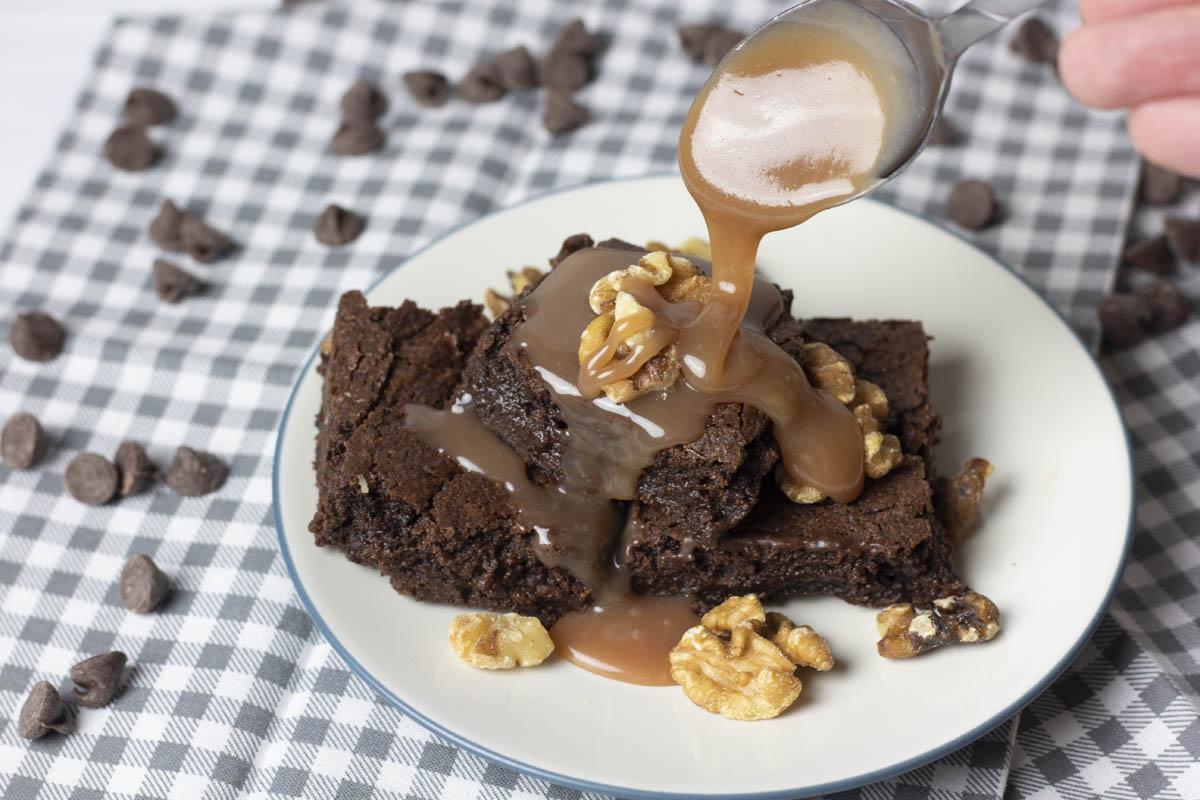
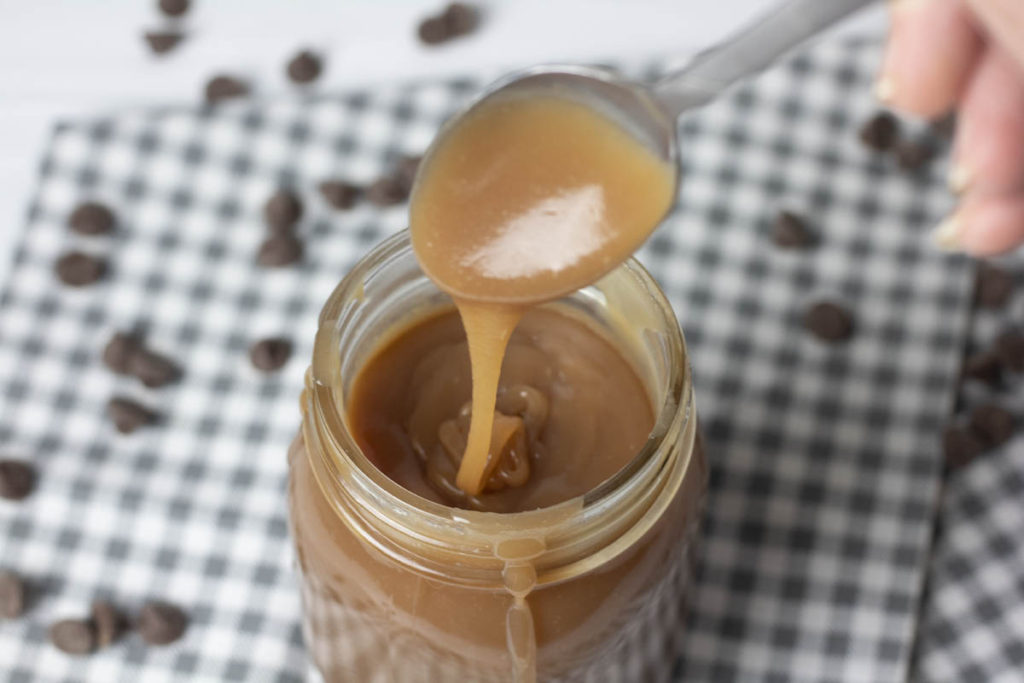
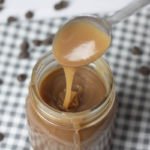
Excuse me over here. Just licking the spoon. And by licking the spoon I mean continuously licking the spoon I keep putting in this jar of salted caramel sauce. Don’t judge me! If you’re here, you’ll be doing it too, shortly! This salted caramel sauce is creamy and delicious with a perfect golden color and that perfect kick of salt to bring out the golden flavors even more.
I recommend a candy thermometer for this. It’s not required—I’ve tried my best to outline my process with and without a thermometer. But a thermometer can just let you be more precise with your temperatures. Time doesn’t always work the same way. If my burner runs hotter than yours, it may take way longer for yours to get the perfect golden color. Or it might burn too easily, and trust me, burned sugar is gross. Nobody wants that when you can have heavenly drippable salted caramel sauce.
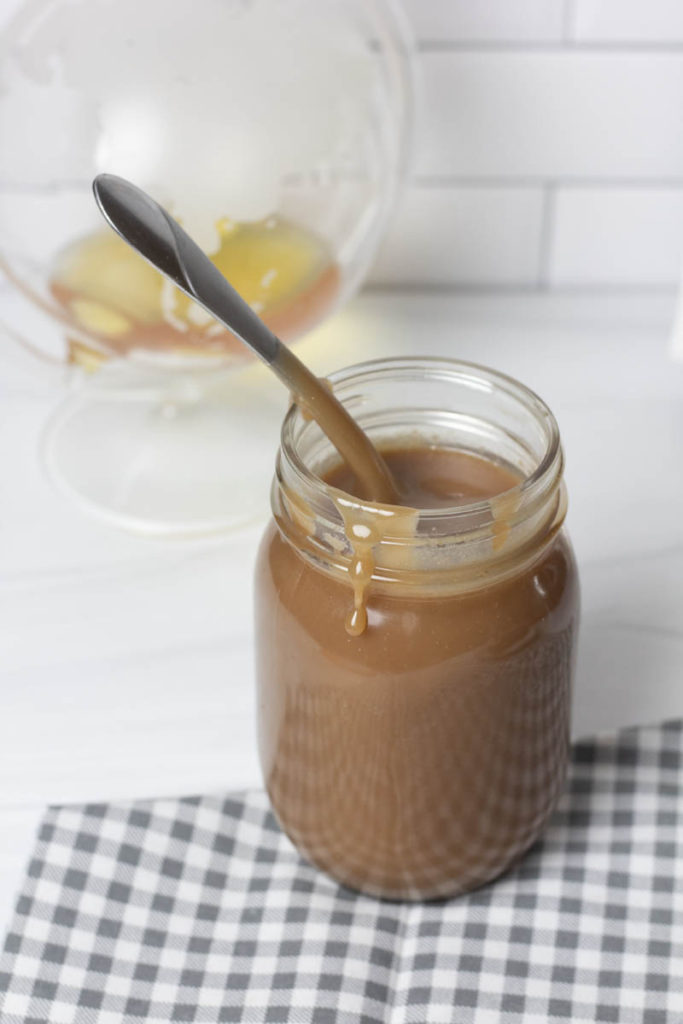
Keep in mind that without the precision of a thermometer, environmental factors can make a big difference. A hot or humid day can mess with your caramel. Some tips and tricks that can help—top your pot with a lid while it boils and the sugar is reaching temperature. This allows the water condensation to heat the sides of the pan and minimize any splashes that might cause harder crystals to form. Make sure your equipment is clean! Any residue or flecks of other food can cause uneven cooling and leave you with crystallized chunks in your caramel.
If you’re working without a thermometer, than you’ll want to pay close attention to the coloring of the sugar the first time you heat it. You’ll want it to get golden in color. Evenly, throughout all the sugar mixture, it should be a light golden yellow. You need to take the sugar past it’s crack temperature to ensure you get caramel.
Still, the possibilities for this sauce are endless! Amazing straight off the spoon, amiright? But drizzle it on ice cream, pair it with brownies, drip it over pound cake, or even top some cheesecake with it. I love adding a little vanilla at the end, I feel like it makes the caramel even richer and adds some extra flavor. The salt is completely optional—take this salted caramel sauce and drop the salt, if that’s not your thing. But I will always be in the salted caramel camp.
Secrets to success;
- I highly recommend a candy thermometer. I’ve included the required temperatures in Fahrenheit to ensure that your caramel will come out perfectly every time. If you don’t have candy thermometer–don’t worry! I’ve included approximate times and things to watch for (like the color of the sugar mixture). Just make sure you watch it closely so you don’t burn the sugar.
- Hold the salt! If you’re not into the “salted” thing, just leave out the salt. You can always add it later, depending on what you use it for. If you choose to add more salt later, I recommend using big, flaky salt like maldon salt or sea salt. If you use regular table salt it can make the caramel feel a little gritty unless you heat it enough to dissolve it. If you use bigger salt flakes, you get the satisfying, explicit crunch.
- The vanilla is also optional, but I really like the flavor it adds, so it’s a must for me.
Looking for some inspiration to use your newly made salted caramel sauce? Check out these recipes:
- Brown sugar cinnamon ice cream would be delicious with some caramel sauce over top.
- Try a drizzle of caramel on this cream cheese apple cake.
- Drizzle this over these s’mores cinnamon rolls for a deliciously sweet breakfast!
salted caramel sauce;
Ingredients
- 1 cup sugar
- ⅓ cup water
- ¾ cup heavy cream
- 2 Tbsp salted butter
- 1 tsp vanilla extract
- ½ tsp salt (optional)
Instructions
- Add the ¾ cup cream and 2 Tbsp butter to a microwave safe measuring cup. Microwave 30-45 seconds or until butter is melted, and set aside.
- In a medium pot, add 1 cup sugar and shake to level the grains. Add ⅓ cup water to moisten the sugar.
- Turn the heat to medium and cook until the sugar dissolves and turns clear, a few minutes.
- Turn up the heat to medium high, and cook until the sugar mixture reaches 340°F. If you don't have a candy thermometer, it should take about 10 minutes and turn an amber color. Make sure not to overcook it 350° or above, and it will start to burn.
- Turn off the heat and add the heavy cream and butter mixture. Adding the fat will cause a lot of steam, so be careful. Add a little and stir using the candy thermometer or a spatula. Add the remaining cream mixture. Stir with a spatula until the bubbling ceases, approximately a minute.
- Turn the heat back to medium high and cook until the temperature reaches 220°F. If no candy thermometer, cook for about 2-3 minutes or until it reaches a nice caramel color. It will still be runny and will thicken as it cools.
- Add 1 tsp vanilla and ½ tsp salt, as desired. Stir until smooth, and allow to cool. Transfer to a jar or container and refrigerate.


4 Comments
pecan streusel apple pie; | Best With Chocolate
November 10, 2023 at 8:32 am
[…] this with a drizzle of caramel like Baked by an Introvert suggests. I have a great recipe for salted caramel sauce if you feel ambitious enough to make your own. It stores wonderfully in the fridge for a long time, […]
snickers brownie pie; | Best With Chocolate
January 12, 2024 at 7:55 pm
[…] it comes to the caramel peanut topping, you have choices for caramel. You can make your own caramel sauce, but it does take some planning ahead. Alternatively, I just use Kraft caramels, which are quick […]
brownie batter stuffed pretzels; | Best With Chocolate
July 7, 2024 at 9:15 pm
[…] I can’t stop taking bites! For extra sweetness, serve drizzled with chocolate, hot fudge, or caramel sauce for extra […]
fudgy homemade brownies recipe; | Best With Chocolate
July 8, 2024 at 12:20 pm
[…] and cold ice cream makes for perfection. Although I also love serving brownies plain with homemade salted caramel sauce and a few walnuts […]