miso biscuits;
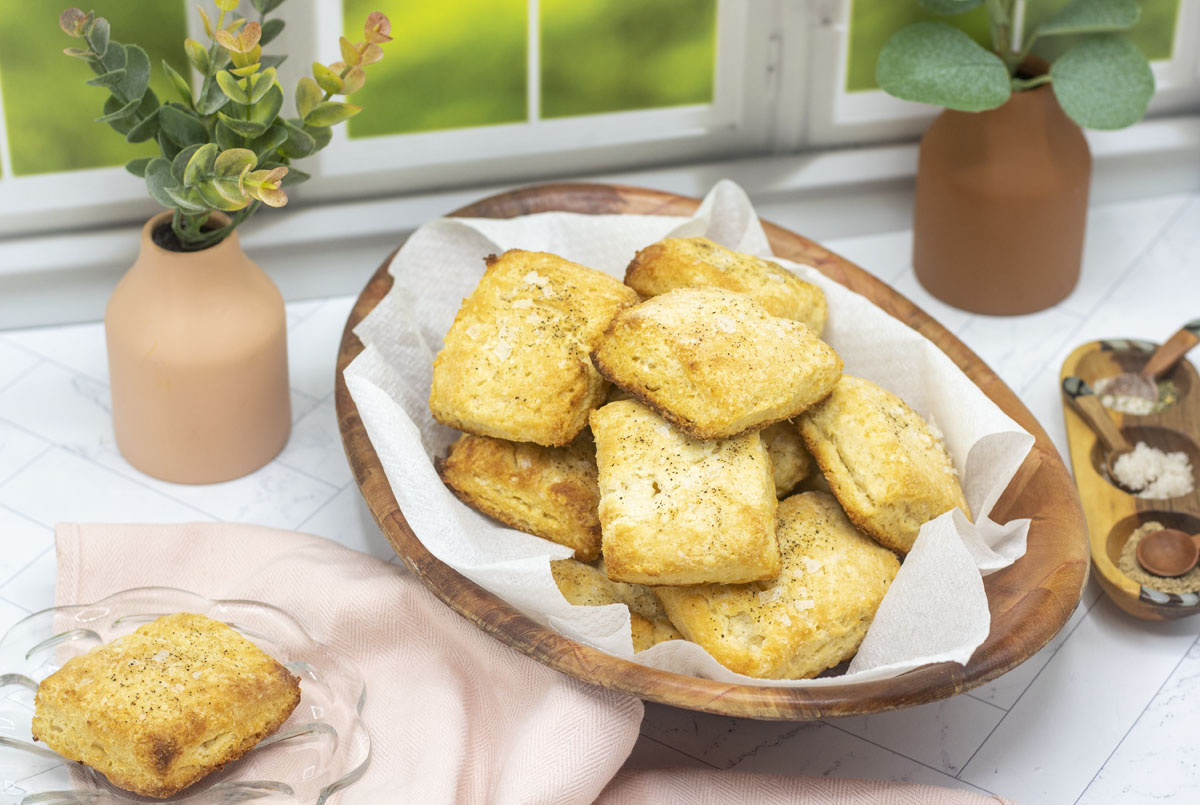
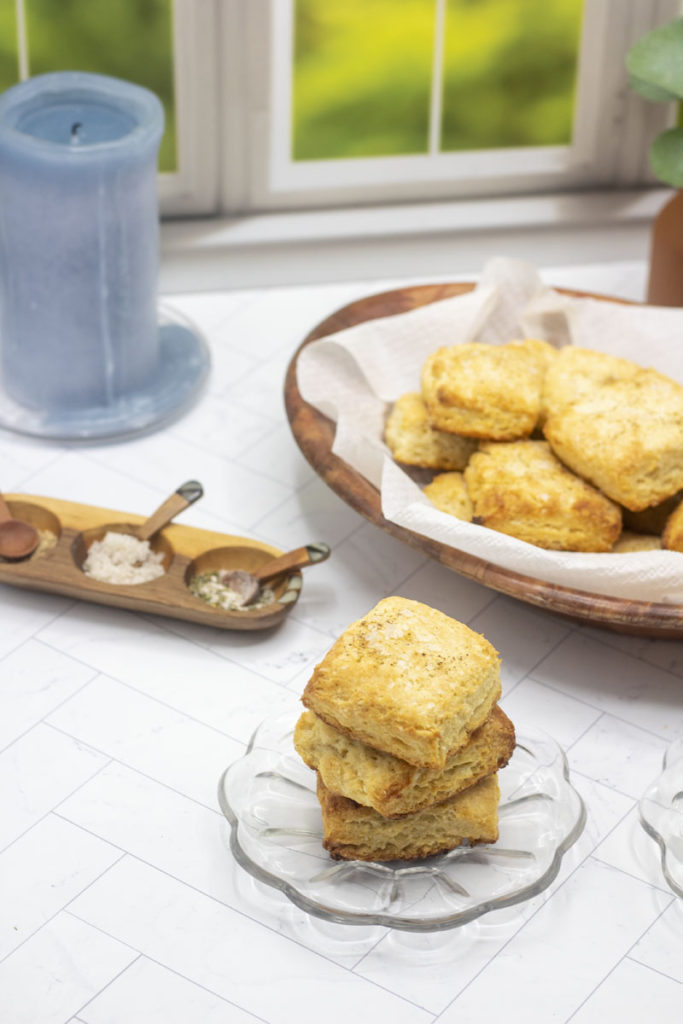
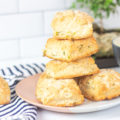
Flaky, layered miso biscuits infused with umami flavor; that extra salty miso flavor that takes these biscuits over the top. Big flaky salt and pepper sprinkled on top bring out the flavor. Crusty bottoms are buttery and flaky, crumbly. Shmear on a little butter right after these miso biscuits come out of the oven. When you take a bite of these miso biscuits with a little melted butter, it’s simply heaven.
My favorite go-to recipe has always been this sour cream and chive biscuits. But move over sour cream and chive biscuits, these miso biscuits are ah-mazing. To be fair, they haven’t bumped the originals off the menu. I will still happily make both. You can never have too many biscuits right?
I use white miso paste becaue I find the mild flavor is versatile and works well, but you can use any other miso paste you’d like.
secret to success
I use white miso paste because I find the mild flavor is versatile and works well in different recipes. But you can use any other miso paste you’d like. If you make a swap, keep in mind how potent the miso paste is. Some other varietals have different flavors, but ones that are aged more will have a sharper, deeper flavor. For example, if you grab red miso, its darker color comes from fermenting longer and has a saltier flavor. To learn more about different miso flavors, check out uwajimaya’s blog.

The idea for these miso biscuits came from Claire Saffitz in the recipe book Dessert Person. I love browsing her recipes for interesting flavors. I got addicted to Gourmet Makes for a while, and a friend gifted me Dessert Person. Naturally, I assumed it would be mostly desserts, but when I was flipping through, the miso biscuit recipe caught my eye. I’ve been on a very heavy miso brown butter popcorn kick, so finding another recipe to use miso is a great find!
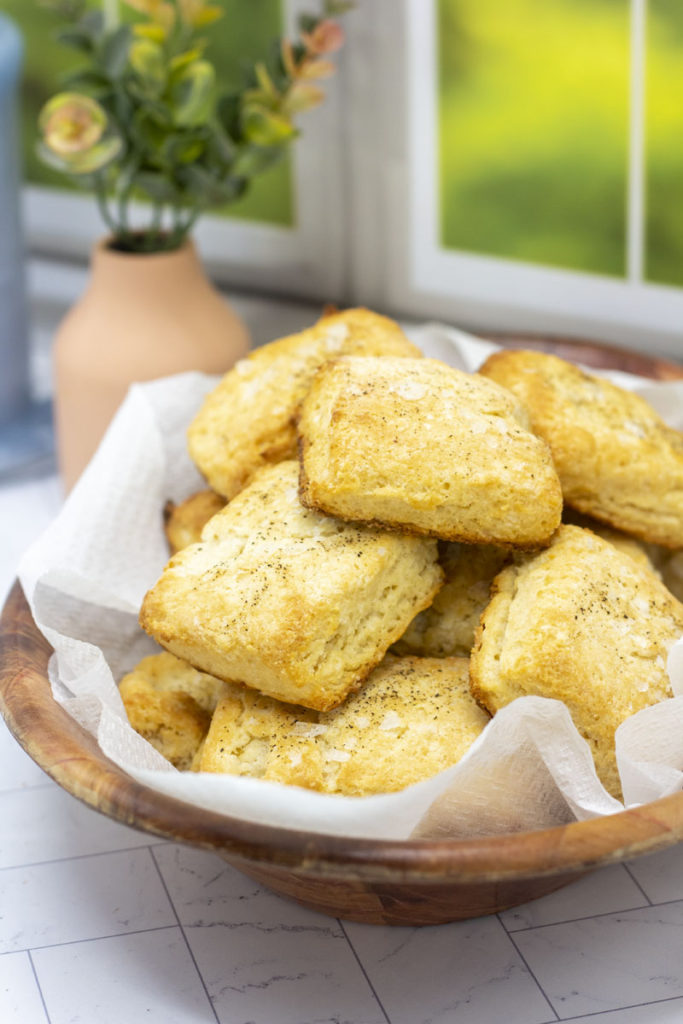
The key to any biscuit recipe in my opinion is flaky layers. The key to flaky layers is twofold.
secret to success
The key to any biscuit recipe in my opinion is flaky layers. And the key to flaky layers is twofold. One is cold butter. Layers come from the butter melting between layers of dough. So the cold butter gives the biscuits time to rise and build up those layers. Second, make sure you fold the dough to make layers and not overwork the dough. I like to try to fold it three times, turning as I go so get alternating layers.
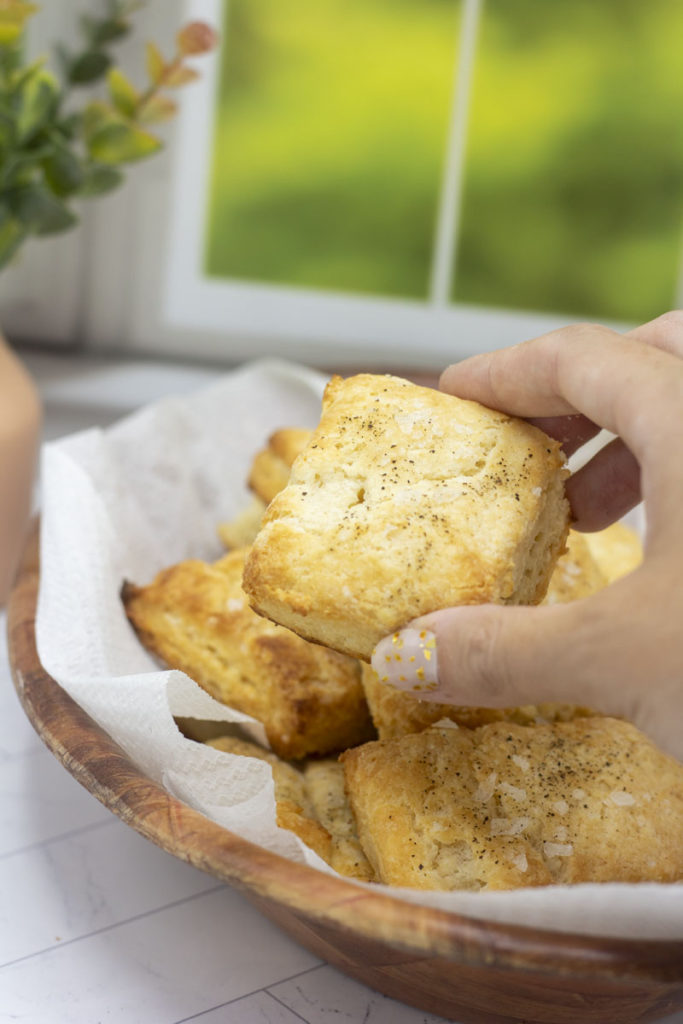
I love serving these miso biscuits straight from the oven. I have trouble waiting until they cool, actually. Yum. Cut them in half, let the steam rise and release that miso flavor into the air. All you need is a quick spread of butter and straight into the mouth. If it was acceptable, I’d singularly eat biscuits for dinner. I like carbs, ok?
You can substitute gluten-free flour if you need a gluten-less option. They will end up a little flatter and lose a bit of layering, but I don’t mind if it means I still get to enjoy delicious biscuits!
secret to success
Since I’ve developed sensitivity to gluten, I have tried to make these with gluten-free flour. Luckily, they do still turn out delicious! Though I’ve found they end up a little flatter and don’t quite layer as nicely as regular wheat flour. But I don’t mind if it means I get to enjoy delicious biscuits and not worry about my stomach!
But if you have to have a main dish to pair this with, then I recommend a good soup. Like broccoli cheddar soup. When the weather gets colder, I always turn to soup. And when you have soup, you need a cracker or biscuit to sop up all the deliciousness.
secrets to success;
Want all the best tips and tricks to make this recipe a success? Check out the blog post above to find out more!
more recipes;
Want to try some other recipes that bring miso front and center? These are some of my favorites:
- You can never go wrong with classic miso soup. A little tofu, a bit of seaweed, and you have a delicious warm broth.
- Miso glazed chicken wings make for a wonderful appetizer, game day party, or can even stand out as the main dish of a dinner! Deelish.
- When it comes to snacking, you can’t go wrong with miso brown butter popcorn. Popcorn is the perfect complement to miso, since it’s a blank canvas. And the salty, umami, buttery flavor of miso pairs perfectly with popcorn.

miso biscuits;
Ingredients
- ½ cup white miso
- 1¼ cups buttermilk chilled
- 3¼ cups all-purpose flour plus more for rolling out (option: sub gluten free all purpose flour)
- 1 Tbsp sugar
- 1 Tbsp baking powder
- ¼ tsp baking soda
- 2 sticks + 2 Tbsp unsalted butter
- black pepper, flaky sea salt
Instructions
- Line a large baking sheet with parchment paper and set aside.
- Add ½ cup white miso to a medium bowl. Add in a couple Tbsp of buttermilk and whisk until smooth. Continue to add half the buttermilk several Tbsp at a time until it comes together in a smooth paste. Whisk in the remaining buttermilk until smooth and store in the refrigerator while preparing the next steps.
- In a large bowl, add 3¼ cup flour, 1 Tbsp sugar, 1 Tbsp baking powder, ¼ tsp baking soda and mix to combine.
- Cut the butter into small chunks and add to the flour mixture. Toss to coat in the mixture, and then use your fingers to smash the pieces into roughly pea-sized bits.
- Take the miso buttermilk from the fridge. Pour into the flour mixture slowly, stirring constantly with a fork. Stir the mixture several times in the bowl to bring the dough together. A few crumbs can remain.
- Turn the dough out onto a floured surface. Flour your hands then knead 4-5 times or until it comes together. Don't overwork the dough, but it may still be tacky.
- Flour one more time, then pat into a rectangle roughly ½" thick. Fold the dough in half. Flatten slightly, turn 90° and fold again. Repeat this step one more time, to make three folds. Transfer the dough to the prepared sheet pan.
- Shape dough into a 8×8" square and cut the dough into 16 biscuits. Make 3×3 cuts with a knife or bench scraper to make a 4×4 grid for 16 biscuits. Separate each biscuit, spacing evenly.
- Chill biscuits in the freezer for about 15 minutes. Meanwhile add 2 Tbsp melted butter, to a small microwave-safe dish. Melt butter in the microwave for roughly 30 minutes.
- Brush the tops of the chilled biscuits with the 2 tablespoons melted butter and sprinkle with black pepper and flaky sea salt.
- Transfer the baking sheet to the oven and reduce the temperature to 375°F. Bake until the tops of the biscuits are browned and the bottoms are golden brown, 20 to 25 minutes. Remove from the oven and let cool on the baking sheet.


2 Comments
s’mores french silk pie; | Best With Chocolate
November 18, 2022 at 10:09 am
[…] made biscuits? Yes please! Try these miso biscuits for a salty umami side dish, or go for my favorite homemade sour cream and chive […]
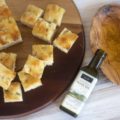
cheesy garlic pull-apart bread; | Best With Chocolate
March 7, 2025 at 6:44 am
[…] Miso biscuits are an umami blast of homemade, buttery, flaky goodness that I just can’t get enough of! Or try a sour cream and chive biscuit that’s simply to die for. […]