ice cream mochi;

Originally posted on October 3, 2016. Updated August 2023 for content and clarity.
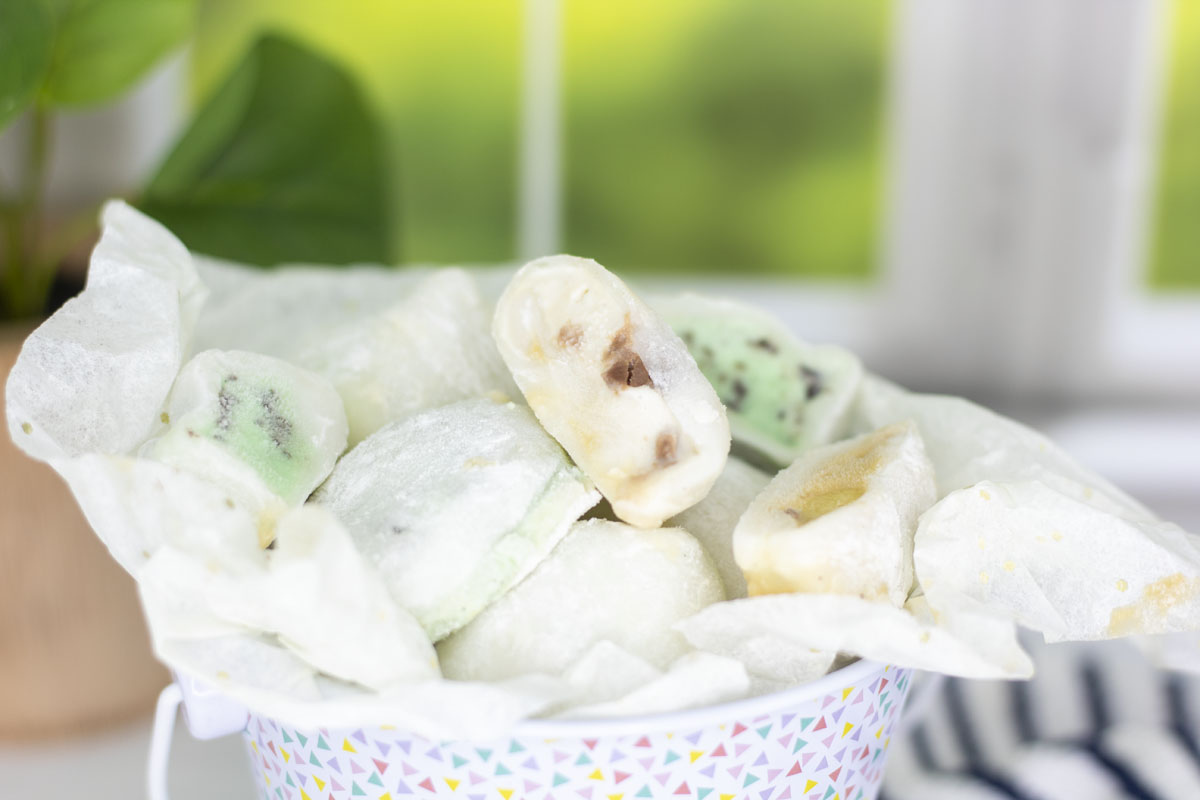
If you had asked me a year ago when I started this blog if I would make ice cream mochi, I would have scoffed at you. Heck, if you had asked me last week if I would make mochi, I would have laughed too! Much less, making this soft, delicate, and chewy Asian pastry wrapped around the refreshing and delicious ice cream of my dreams with only 4 ingredients! I just assumed it would be complicated and hard.
If you’ve never had mochi before, it’s a little hard to describe, but I’ll keep it short and sweet. It uses glutinous rice flour to hold together a soft and sticky dough that usually surrounds some delicious filling like fresh strawberries, red bean paste, or peanut filling–or in this case, ice cream.
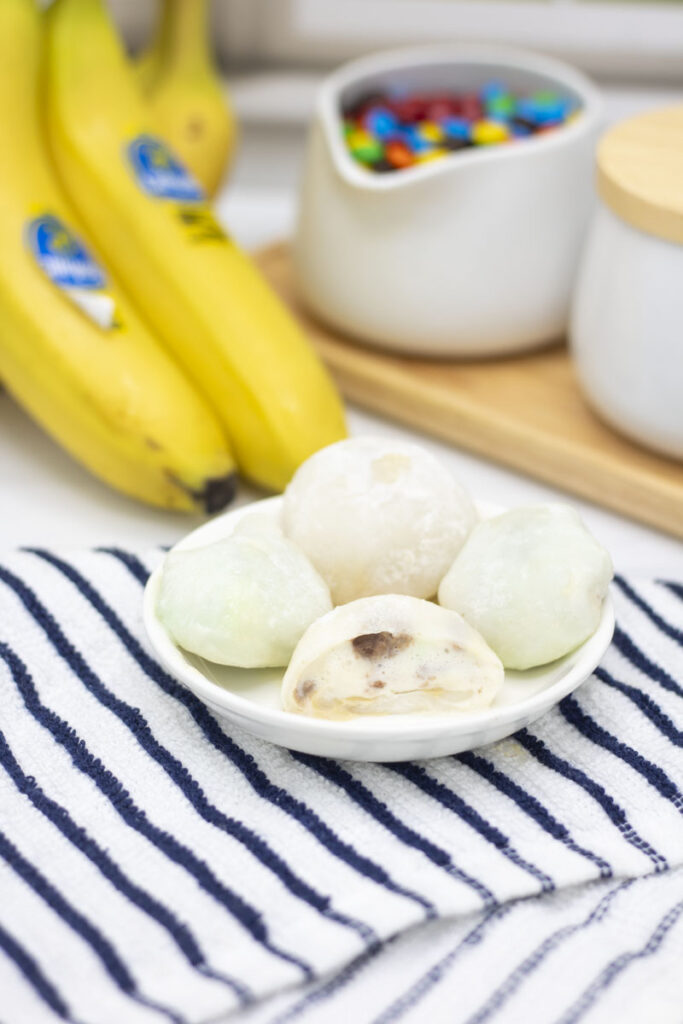
The sweet dough is actually pretty flavorless other than “sweet”, and the texture can make you love or hate it. The mochi is generally coated in a thin layer of flour or powdered sugar which keeps it from sticking to your fingers while you’re eating it. In the case of ice cream mochi, the cold of the freezer and ice cream helps too. For those of you that have had ice cream mochi, do you think I did a good job describing it? Comment below!
While making the mochi shell is easy, I will note that I find ice cream mochi a step harder than fresh mochi (like my strawberry mochi recipe), even if ironically, I posted this recipe first. The video I watched on tastemade had only a few ingredients so I thought it would be a breeze. But having to balance the warm mochi dough with ice cream that melts makes me hesitate to call this recipe “easy”.
Ice cream mochi is a step harder than regular mochi because you have to balance the warm dough with the cold ice cream.
Secret to success
Trust the recipe! I have to admit that I was skeptical that making this in the microwave would work and yield the soft, chewy, and sticky texture that I expected for the mochi dough. And I’ll fully admit it looks weird and lumpy as you stir throughout. But it comes together, I promise!
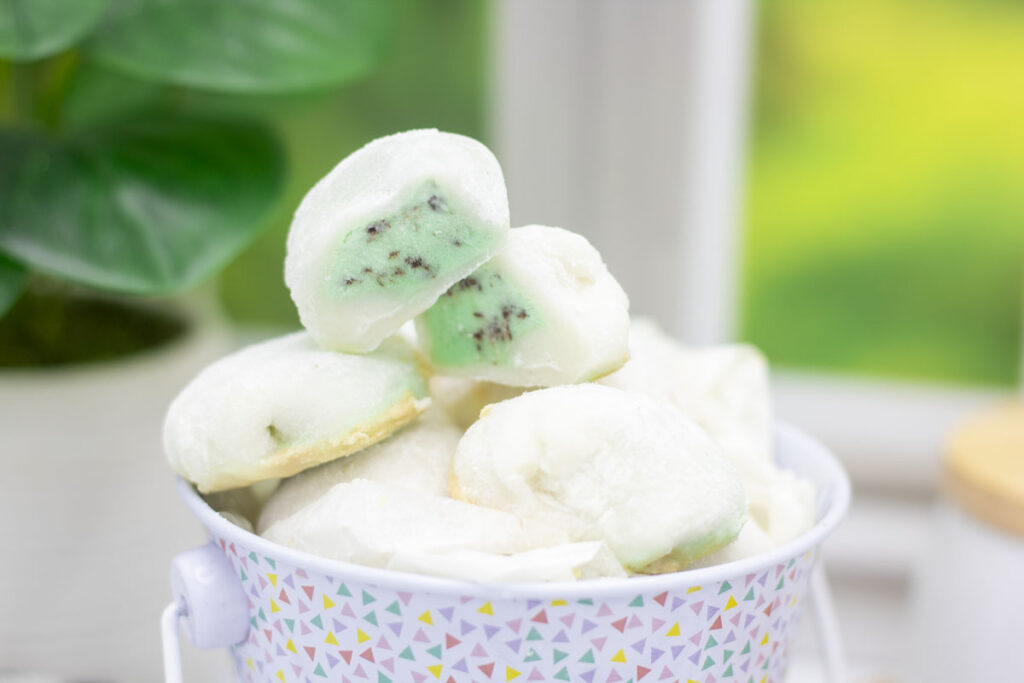
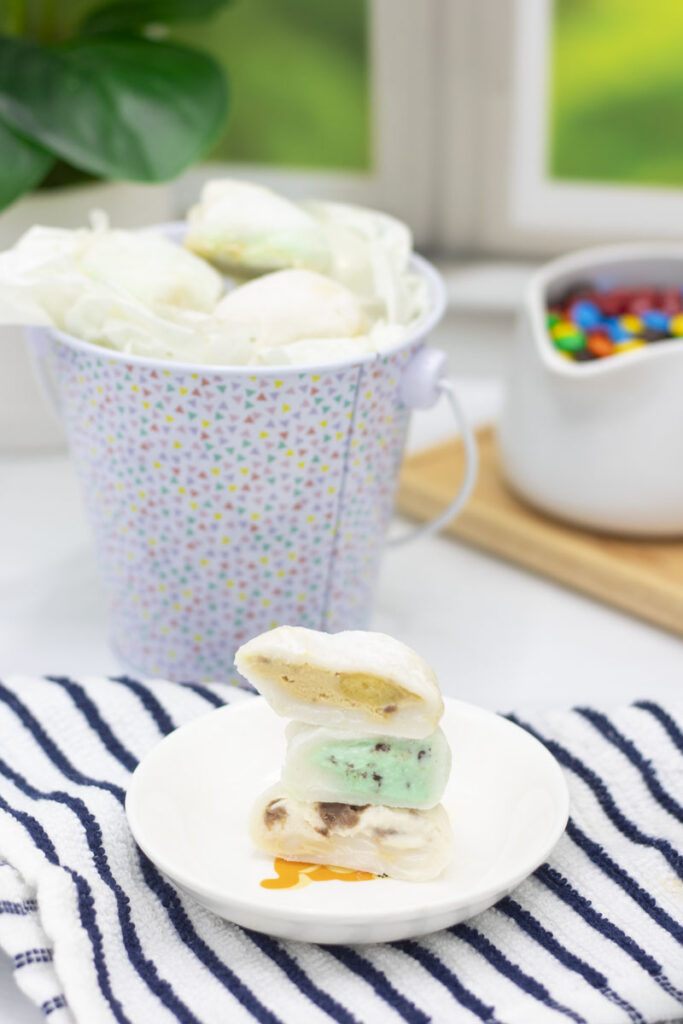
I promise ice cream mochi are delicious and worth the effort, but they can definitely be tricky to get to come out “pretty”. But the fun part about making ice cream mochi at home is that you can use whatever flavor of ice cream is your favorite–or multiple flavors! Other than having the ice cream on hand, there’s really no more work to making a couple of flavors at once for variety and fun.
For the size and instructions for this ice cream mochi recipe, use a half-teaspoon scoop, and do not get overzealous. Overstuffing will just make your life harder, I promise. To pair with the half-teaspoon filling, I use a 2″ diameter biscuit cutter to cut out the mochi shells.
Use a half teaspoon scoop and do not get overzealous. Overstuffing will just make your life harder, I promise.
secret to success
The staple ingredient of this recipe is glutinous rice flour. Not familiar with glutinous rice flour? Well, make sure to keep reading because it’s important to this recipe and I’ll explain more about it.
I find my glutinous rice flour at the Asian grocery store (perfect time to grab wonton wrappers and make pork wontons too!). It’s usually with the other flours like rice flour, tapioca flour, etc. But glutinous rice flour is not the same as rice flour. I repeat, it’s not the same as regular rice flour.
But it does also get called “sweet rice flour”. Just to confuse the situation. Sweet rice flour is not actually necessarily sweet by itself, that’s why you’ll notice we add sugar in the recipe. So no, you cannot substitute regular rice flour + sugar instead of sweet rice flour (aka glutinous rice flour). I’ll also mention that glutinous rice flour also doesn’t contain gluten given the name. At this point, if you’re like me, you’re like “what the heck is this ingredient?!” Well I’ll share what I learned.
Sweet rice flour, also known as glutinous rice flour does not contain gluten, and has a high starch content that helps create the chewy, sticky texture of the ice cream mochi. It is a unique ingredient you can’t substitute!
secret to success
Sweet rice flour, or glutinous rice flour, starts with a particular kind of rice. It’s made from the kind of rice that makes “sticky rice”, again glutinous rice. If you’ve had sticky rice before you probably understand that while white rice can be “sticky” and clump together, sticky rice also sticks together–but provides a chewier, more resistant texture in the mouth.
This basically boils down to the fact that glutinous rice has a much higher starch content that acts as an emulsifier (making it sticky and congealed and adding resistance to your bite). Fun fact, if you’ve gone out and purchased your glutinous rice, you can use it as a cornstarch substitute, great for thickening soups or adding fine texture to bread, cakes, or baked goods.
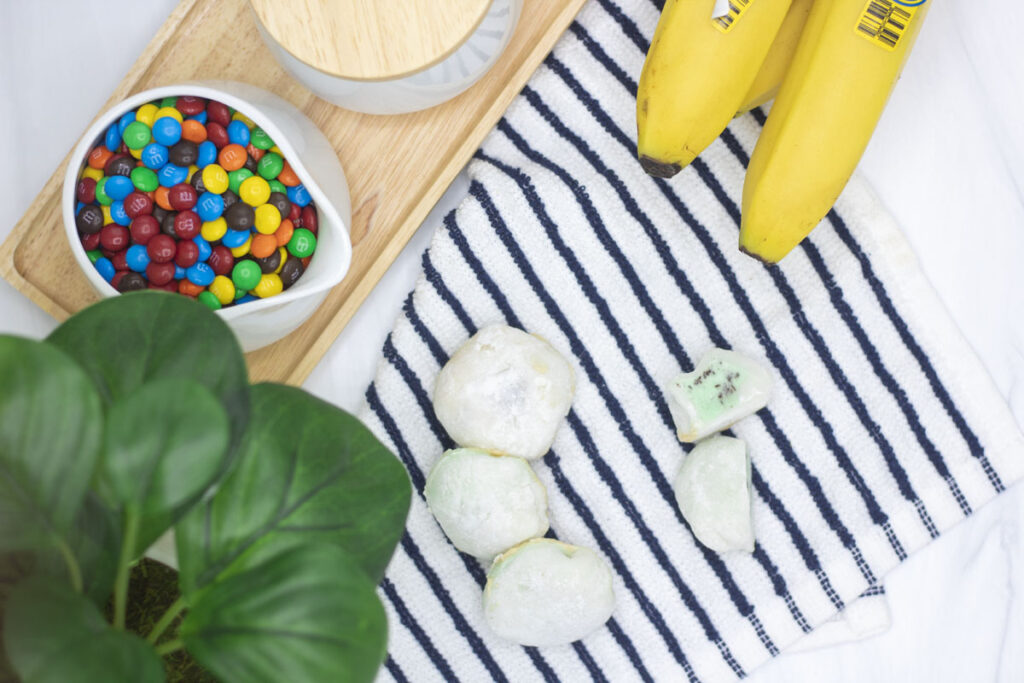
When rolling out the mochi dough, for ice cream mochi, I opt for a slightly thicker dough. When you wrap your filling, it’ll give you a little leeway to stretch the dough to close it around the inside ice cream. You can try thinner, but I’m not responsible for rips and tears and eating ruined ones! (They still taste delicious.)
Rolling the dough thicker will be more forgiving and allow it to stretch and cover your ice cream fully as you wrap your ice cream mochi.
Secret to success
I hope these tips help! I really feel quite proud of how well these turned out, and how tasty they are! There’s something I love about a bite-sized ice cream treat that makes these feel like forbidden little gems. Making them myself definitely makes me appreciate premade ice cream mochi that you can buy at the store.
But sometimes you want the satisfaction of making them fresh at home (I swear they’re softer and even more delicious), or using your own flavors. I’m just saying, while you can find chocolate, strawberry, mango, and vanilla flavors easily, have you ever had s’mores ice cream mochi, or birthday cake ice cream mochi? If you have, I bet it’s from a specialty shop and probably not something you can pick up down the street at just any location.
secrets to success;
Want all the best tips and tricks to make this recipe a success? Check out the blog post above to find out more!
more recipes;
Looking for other sweet treats? Check out these delicious options:
- Don’t stop at ice cream! Make these fresh strawberry mochi or use natural peanut butter for an amazingly delicious take on mochi. Or opt for a surprising but amazingly chewy and delicious alternative to cornbread with these sweet corn mochi cornbread cakes.
- Want your ice cream in the form of a homemade chocolate cookie ice cream sandwich? Look no further, these chewy chocolate crackle cookies are my favorite–with or without the ice cream.
- Want to really wow your tastebuds? Make sure you have once-of-a-kind ice cream by making it yourself! Try flavors like brown sugar cinnamon ice cream, no churn roasted strawberry ice cream, or maple vanilla oat milk ice cream that make for some insanely delicious ice cream mochi!

ice cream mochi;
Ingredients
mochi dough;
- ¾ cup glutinous rice flour (also known as sweet rice flour)
- ¾ cup water
- ¼ cup sugar
- cornstarch for rolling and flouring
ice cream filling;
- 8 tsp ice cream or roughly ~3 Tbsp (pick your favorite flavor!)
Instructions
ice cream filling;
- Scoop ½ tsp balls of your favorite ice cream and line them on a parchment paper lined baking sheet. Make sure to work fast so they don't melt! Freeze for 2+ hours or overnight to make sure they're hard and less likely to melt.
mochi dough;
- In a microwave-safe bowl, combine the ¾ cup glutinous rice flour, ¼ cup sugar, and ¾ cup water. Whisk together until combined.
- Microwave the bowl on high for 1 minute. Remove, and use a spatula to mix together. Lumps are expected. Return to the microwave and heat another 30 seconds. Remove and stir. Return to the microwave for 15-30 second increments until all liquid becomes a sticky dough.
- Ensure the dough is cool enough to handle before proceeding. Sprinkle your board generously with cornstarch, and roll out to about ¼" thickness. Cut out 2" circles.
- Remove the ice cream balls from the freezer and add one ½ tsp filling to the center of your mochi dough circle. Fold it up and press together the seams. Set aside (recommend putting right back into the freezer) and repeat for all remaining filling and dough.
- You can eat them immediately, but the ice cream may be melty or soft given handling outside the freezer. I recommend allowing them to set in the freezer for at least 1+ hours before serving.



2 Comments
peanut mochi; – tipsychocochip
November 23, 2016 at 10:02 am
[…] holiday of Thanksgiving! If you want to learn more about mochi, check out the original cookie dough ice cream mochi post where I went into more detail. I’ll sum up in case anyone wants to skip to the difference: […]
mint chocolate chip meringues; | Best With Chocolate
January 16, 2025 at 9:39 pm
[…] it with your favorite flavors like fresh strawberries or peanut butter. Or take it up a notch with ice cream mochi! These frozen little bites are the perfect summer […]