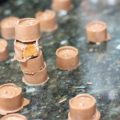
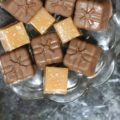
chocolate quinoa crunch wafers;
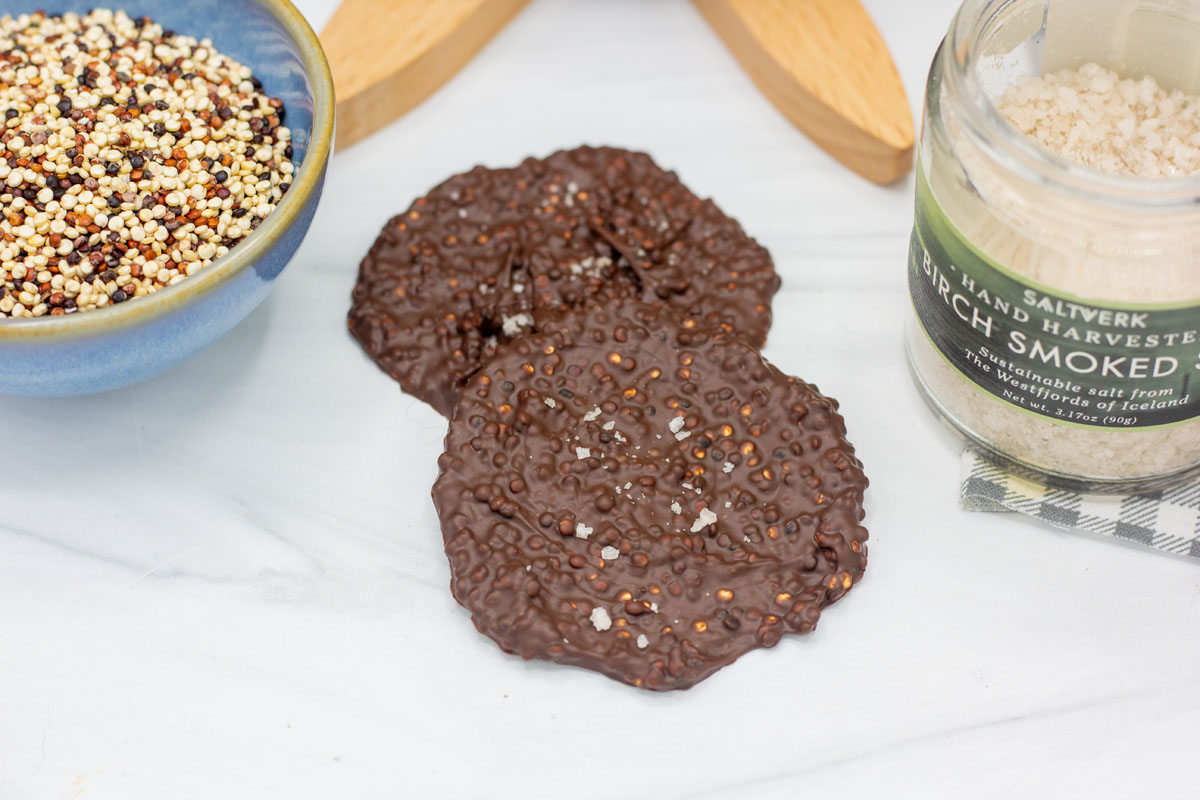
This simple recipe has only three ingredients and is so satisfying, with sweet chocolate, crunchy quinoa, and the perfect sprinkle of sea salt. Chocolate quinoa crunch wafers are great snacks and a good way to add protein and fiber to your sweet treat!
The first thing to do is pop your quinoa. I never knew that you could pop quinoa like popcorn! But apparently you can. If you put the quinoa grains directly in a pan over dry heat, they pop! It’s hard to see any individual kernel pop, but you’ll definitely hear it.
I tried a couple of different methods to pop the quinoa and decided the dry method is the best. You simply add quinoa to the pan, turn on the heat and keep shaking the pan to keep everything from burning. If you want a whole breakdown of popped quinoa, there are methods like rinsing your grains with water to extend your popping time, but I’ll just keep it simple here.
The key to popping crunchy quinoa is to keep it moving around the pan. Small grains make it easy to overheat and burn.
secret to success
Once you begin to hear popping, make sure to stir or shake the pan until you achieve desired crispiness. You won’t get every single kernel popped and that’s ok. (I think. As I said, you can’t see every individual kernel so maybe they do! But I don’t think so.) But even those that don’t officially “pop” will be toasted and crunchy. And a lot of them will pop. So by the time you’re done toasting, the whole batch will be toasty and crunchy and perfect for these chocolate quinoa crunch wafers. Popped or unpopped, the goal is crunch.
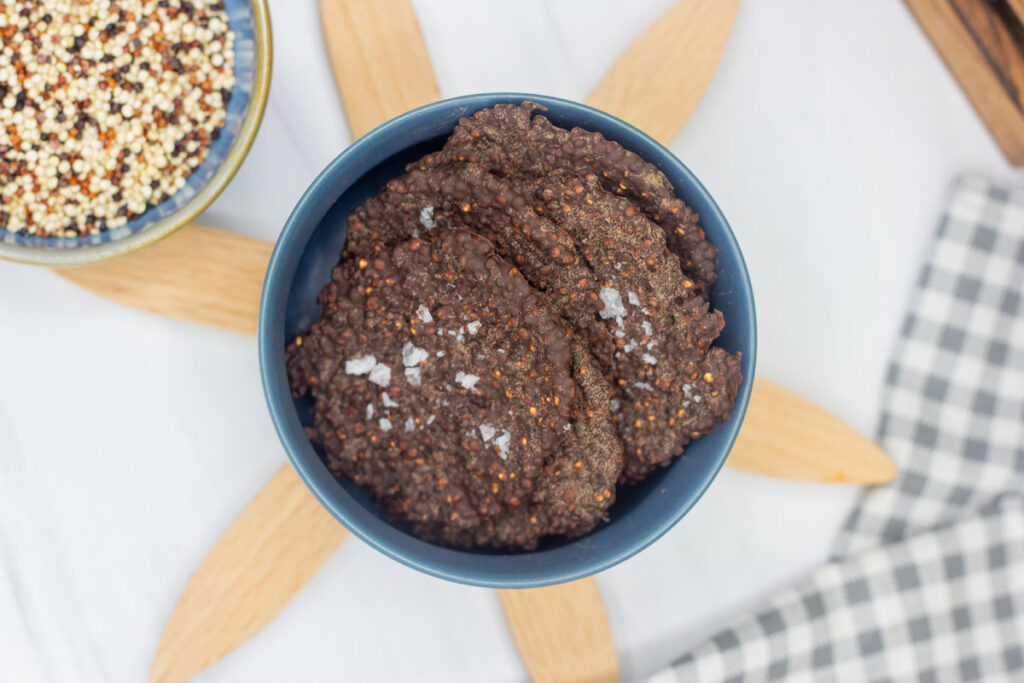
Once done toasting your quinoa, set aside and allow to cool. Next up? Chocolate. Do make sure if you’re using sea salt that you have that on hand and ready before you get to the chocolate step. You want to make sure you hit those chocolate quinoa crunch wafers with salt (if using) before it hardens.
When it comes to chocolate, dark chocolate will always be my favorite, but choose your own adventure.
secret to success
When it comes to chocolate, I prefer chocolate bars or tempered chocolate. It makes for a more satisfying snap-crunch, but there’s room for your preference here. I, of course, went for dark chocolate but there’s nothing prohibiting you from snagging milk or white chocolate if that’s your jam. Chocolate quinoa crunch wafers would be wonderful with any chocolate type, or even a white-and-dark swirl!

Then the third ingredient: salt. This is optional, of course. If you’re not a salty sweet fan, then leave it off and enjoy your chocolate quinoa crunch wafers as-is. But if you do opt for salt, you want to use sea salt.
To salt or not to salt? That’s a question for you.
secret to success
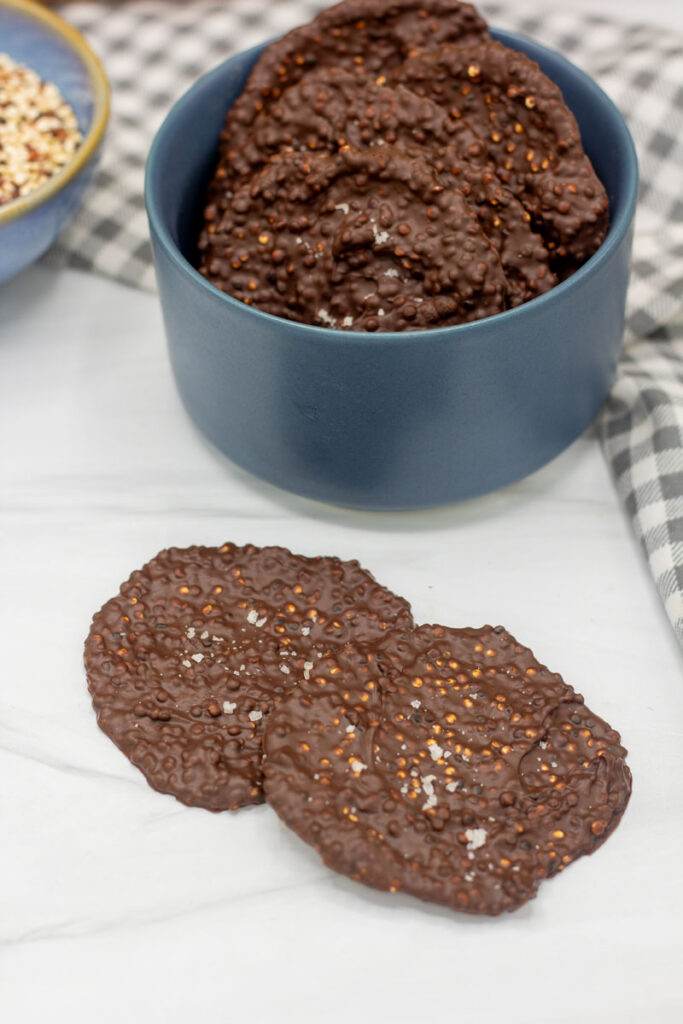
The wafers are thin, so you’ll want to make sure you have a light touch when sprinkling. Too much will easily overpower a single chocolate quinoa crunch wafer. I actually like to go halfsies—sprinkle half with salt and leave the other half naked. That way if there’s a little too much salt on one wafer, I just pop a non-salted wafer into my mouth to go with it and it all evens out! I’ll take any excuse to get more of these chocolate quinoa crunch wafers in my mouth.
Don’t say I didn’t warn you…this recipe is so quick and easy. But the only thing quicker is how long it’ll take to disappear into your belly. There’s something ultimately so satisfying about the crunch. And you can even call it healthy—you’re stacking the protein and fiber in quinoa with your sweet chocolate treat.
secrets to success;
Want all the best tips and tricks to make this recipe a success? Check out the blog post above to find out more!
more recipes;
Looking for other quick but oh-so-tasty recipes? Check out these fan favorites!
- You might be surprised, but homemade peppermint patties only take 5 ingredients to make and they’re softer and fresher than any storebought brand!
- Summer’s right around the corner, but sometimes you don’t want all the work of individually cooking marshmallows. Take the work and sticky fingers out of s’mores with these sheet pan s’mores that are perfect to feed a crowd. Or make these individual s’mores kiss cookies that are the perfect dessert!
- Easter is right around the corner—so why not make yourself some adorable (and edible) bunny butts?! White chocolate, pretzels, and caramel with a little marshmallow bunny tail makes for a cute scene.

chocolate quinoa crunch;
Ingredients
- ¼ cup quinoa
- 4 oz chocolate (I prefer chocolate bar; or roughly one heaping ½ cup chocolate chips)
- ½ tsp coconut oil (optional, as needed)
- sea salt
Instructions
- Heat a skillet over medium low heat. Once hot, you can proceed. To test if hot, add a couple grains of quinoa and if they pop within 30-60 seconds you're good to go.
- Add ¼ cup of dry quinoa to the heated skillet and allow the kernels to pop. Make sure to shake the pan to keep the grains moving so they don't burn. They should turn a toasty brown color and have a little nutty toasted aroma.
- Once the popping has decreased and your quinoa is thoroughly toasted, set aside.
- In a microwave-safe bowl, add 4 oz chocolate and heat in 30 second increments in the microwave until melted. Make sure to stir between increments, and not overheat. That means when melted but a few lumps remain, don't return to the microwave; just keep stirring until the residual heat melts the remaining lumps.
- If using chocolate chips instead of bar chocolate you may need to add coconut oil to thin out the chocolate. Using coconut oil will make your crunch bars softer and they may melt more in your hand, so I prefer to use only bar chocolate.
- Stir in the toasted quinoa and mix until coated.
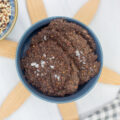
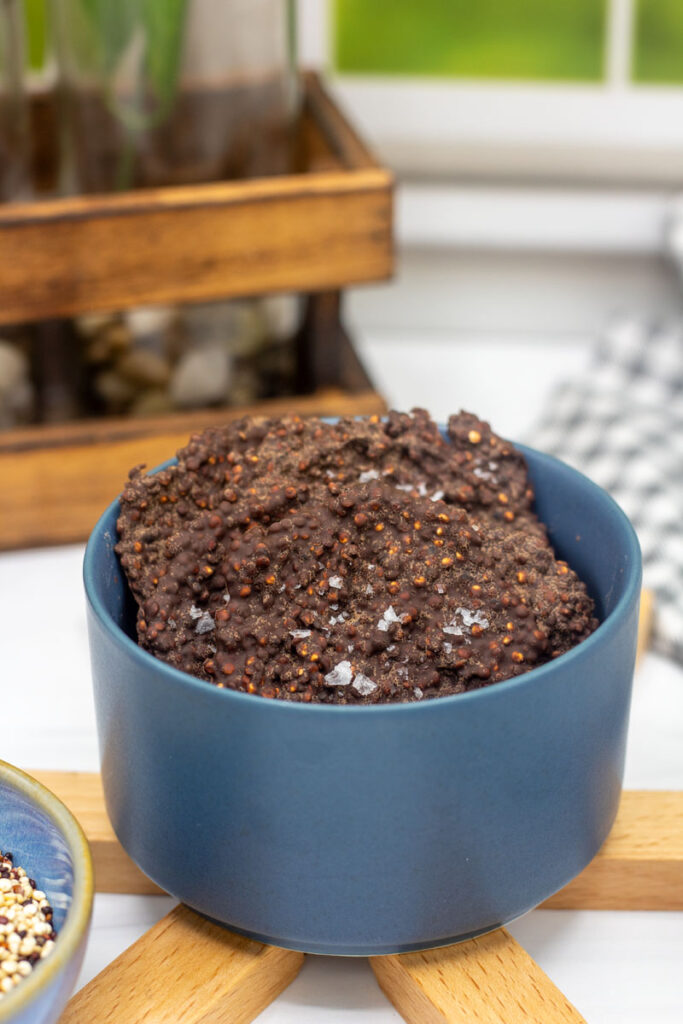
- On a piece of parchment or wax paper, drop roughly 1 Tbsp of mixture and spread using the back of a spoon. You can make whatever shapes or thickness you prefer, I like very thin wafers. (Thicker crunch bars will take longer to harden.)
- Optionally, sprinkle with sea salt. Use a light hand, especially if making thin wafers–a little goes a long way!
- Allow to harden for 3-4 hours or ideally overnight. Once set, store in an airtight container and enjoy!