cosmic brownies;
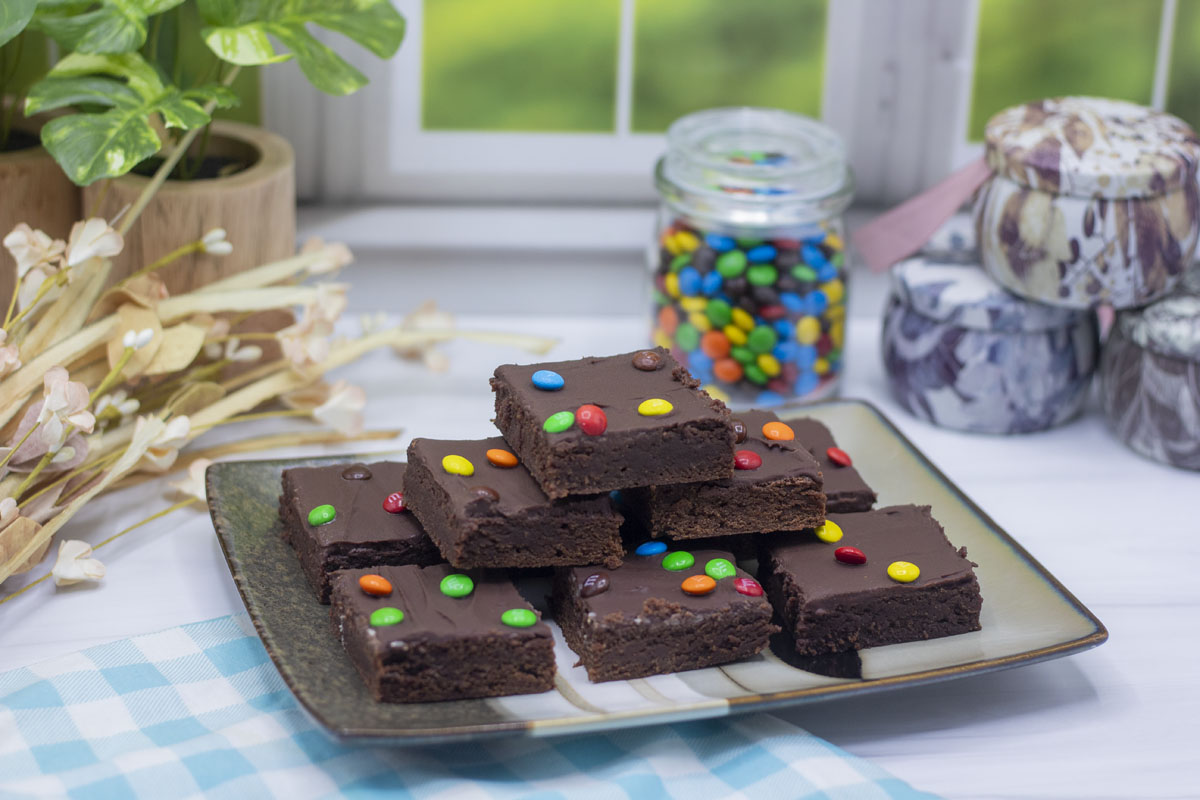

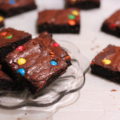
Have you ever had a cosmic brownie? A dense, fudgy brownie with a thin layer of icing and topped with tiny rainbow chocolate chips (or in this case mini m&ms). The brownie in these cosmic brownies is so satisfying to bite into and of course the icing adds an extra layer of chocolate and the mini m&ms add extra texture to every bite.
If you do want extra luscious, chewy brownies you can use chocolate bars. Chocolate bars will have higher cocoa butter content and add extra fat to the cosmic brownies. However, they are more expensive than chocolate chips and I always have semisweet chocolate chips on hand, and they work great. I prefer to use semi-sweet chocolate chips in cosmic brownies. I find that they have the perfect balance of bitter and sweet that make it easy–possibly too easy–to keep coming back for more.
If you want extra luscious, chewy brownies you can use chocolate bars. I prefer to use semi-sweet chocolate chips for the flavor balance and I always have them on hand.
secret to success
I didn’t bother to get out my electric mixer and whip the eggs, but the original recipe shared by fitwafflekitchen did whip the eggs, which might make them fluffier. (She shared on IG, I actually can’t find the recipe on her blog.) That said, I like my brownies and blondies dense and chewy, and even just mixing in the eggs with a normal spoon, these turned out ah-mazing.
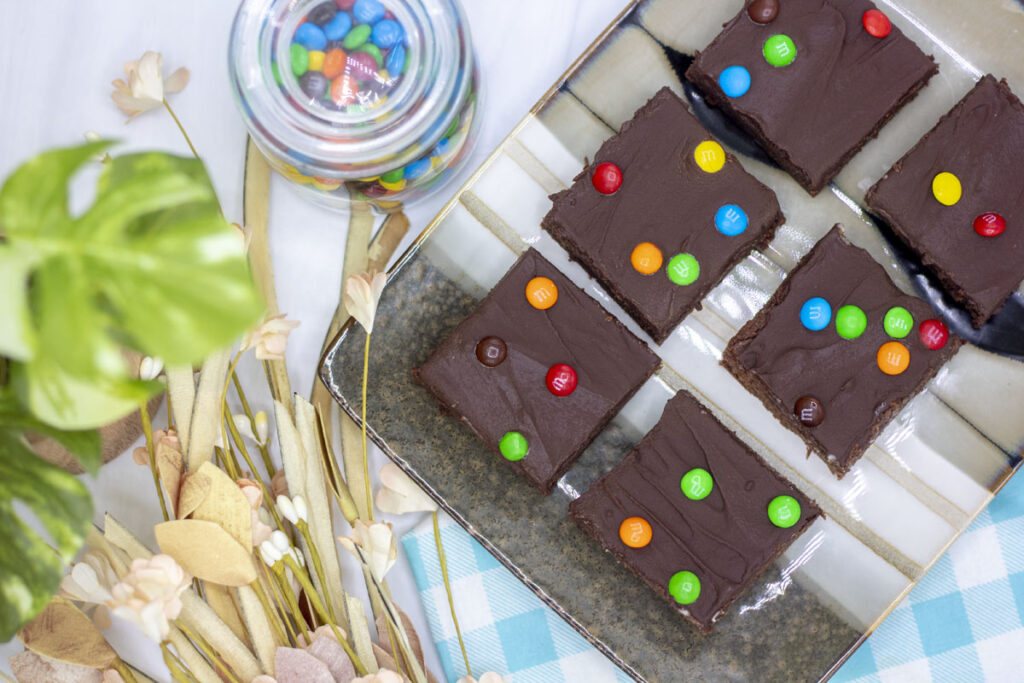
Traditional little debbie “cosmic brownies” actually use rainbow chocolate-covered morsels instead of mini m&ms for topping. I did actually go out and look for the rainbow morsels, but my grocery store did not have them. I also looked online, but I could only find a 1.5lb bag that cost upwards of $25 and I decided it was not quite worth it.
Traditional little debbie “cosmic brownies” actually use rainbow chocolate-covered morsels instead of mini m&ms, but I find the m&ms more accessible.
secret to success
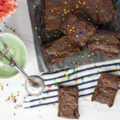
Mini m&ms are so easily accessible, and have most of the same qualities anyway. A thin candy coating that adds just a tiny bit of crunch before the chocolate melts on your tongue. And the m&ms still are multi-colored, if not explicitly “rainbow” so you still get the cosmic brownies effect on the final product.

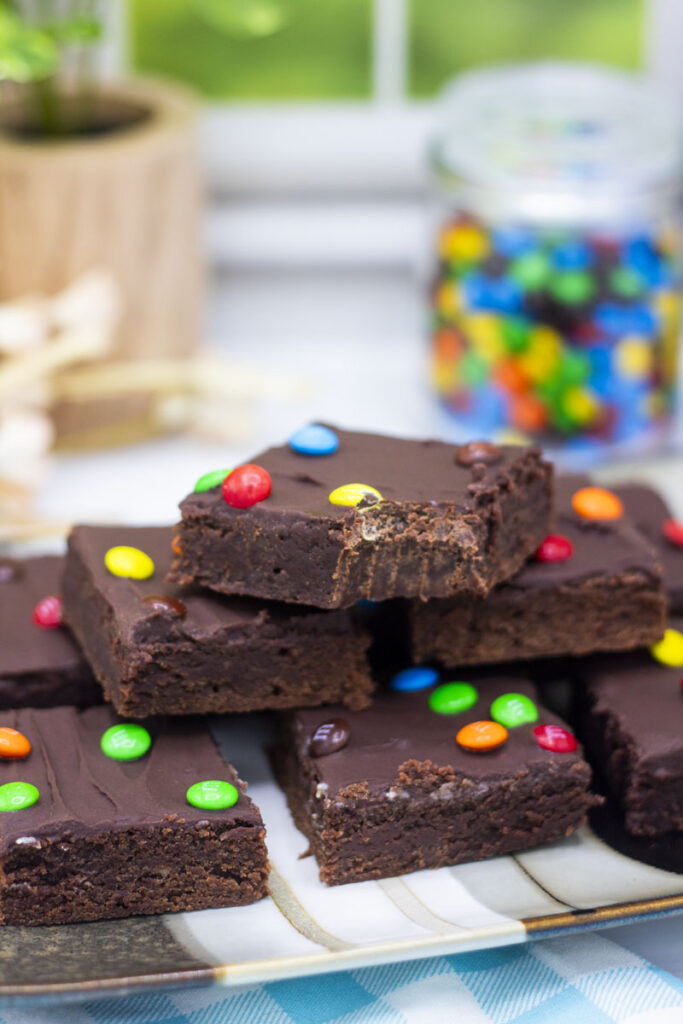
My recommendation for these brownies is to refrigerate them. It helps them set up dense and chewy, and I find them so refreshing directly from the fridge. Plus the icing contains cream so it’s best from a food safety perspective to keep them in the fridge until ready for serving. But as a ganache icing I don’t mind serving it and allowing it to come to room temperature.
To get your cosmic brownies to set up desnse and chewy, refridgerate them–plus they’re so refreshing directly from the fridge.
secret to success
secrets to success;
Want all the best tips and tricks to make this recipe a success? Check out the blog post above to find out more!
more recipes;
Looking for more chocolatey goodness in your life? Check out these delicious recipes:
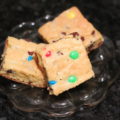
- Are you a white chocolate person? Check out these cosmic blondies for the white chocolate version of these cosmic brownies. Or if you prefer a gooey, classic crinkle-top brownie, check out my favorite brownie recipe.
- These cosmic brownies would also be amazing if you swap out the classic chocolate icing with chocolate chip cookie dough icing for a fun new take on the traditional cosmic brownie.
- If I had to pick an opposite chocolatey dessert, I think I’d call this chocolate icebox cake the opposite. Light, airy, and easy to make, it’s a delicious refreshing chocolate dessert–great for potlucks!
cosmic brownies;
Ingredients
blondies;
- 1¼ cup semi-sweet chocolate chips
- ½ cup butter
- 1 tsp salt
- ⅓ cup sugar
- 2 eggs
- 1 cup all-purpose flour
cosmic icing;
- ½ cup semi-sweet chocolate chips
- 1½ Tbsp heavy cream
- mini m&ms
Instructions
blondies;
- Prepare a 8"x8" pan with parchment paper. I like to lighly spray or drip oil into the pan and use that to keep the parchment paper stuck to the bottom and sides of the pan.
- In a large bowl, add 1¼ semi-sweet chocolate chips and ½ cup butter (1 stick). Microwave in 30 second increments until butter is melted. Stir thoroughly between each blast in the microwave until the chocolate is melted and smooth.
- Add ⅓ cup sugar and 1 tsp salt and mix together until combined.
- Stir in the sugar and salt should help cool the chocolate, but double check before adding the eggs (otherwise they might scramble). I just check by dipping in a finger and if it's warm but not hot, it should be fine. Add 2 eggs and mix until combined.
- Add 1 cup flour and mix until combined.
- Add batter to the prepared 8"x8" pan and bake at 325°F for 15-20 minutes or until the edges just barely begin to brown and the center no longer jiggles when you shake the pan. Allow to cool.
cosmic icing;
- When the brownies have cooled enough to ice them, begin the cosmic icing. Add ½ cup semi-sweet chocolate chips to a medium bowl with 1½ Tbsp heavy cream.
- Microwave in 30 second increments, stirring between each until the chocolate is smooth and melted.
- Pour the icing on top of the brownies and use a spatula to spread it evenly across the brownies.
- While the icing is still liquid, sprinkle mini m&ms across the top.
- Allow icing to cool and set before slicing with a sharp knife. Store cut squares in the refrigerator for up to a week.


1 Comments
beach bear vanilla dirt cups; | Best With Chocolate
August 10, 2024 at 1:43 pm
[…] Relive the golden childhood days with these cosmic brownies–now two ways! White chocolate cosmic blondies, and classic cosmic brownies. […]