no-knead sourdough bread;


I’ll start off by saying there are a thousand blog posts and articles on sourdough bread, and I’m not reinventing the wheel here with this no-knead sourdough bread. A coworker gifted me some of his excess sourdough starter, so I just had to try out making my own sourdough bread! This is my process, but I basically followed King Arthur Flour’s (KAF) article on Feeding and Maintaining your Sourdough Starter, and then made KAF no-knead sourdough recipe, because somebody on Reddit called it “idiot proof”. And I like idiot proof, especially when trying things out for the first time. Maybe I’ll revisit this recipe or get super technical in the future, but for right now, this was plenty to learn and absorb!
So, what to do when you receive sourdough starter? First, I transferred it to a large mason jar with plenty of room to grow. You need space since it’s alive, and you add volume “feeding” it flour and water, and it needs room to expand and collapse without overflowing. The jar I received definitely overflowed immediately upon opening (as my coworker told me it would) since it sat in my car for a day. So I transferred it to an 32oz mason jar.
You can feed your sourdough every day, but that sounds like far too much effort to me. Instead, I prefer to store it in the fridge and feed it every 1-2 weeks. KAF recommends weekly in the fridge, but my coworker says he does his every 2 weeks, and it seems to be going strong. I’ll start with 1x a week first and probably transition to once every two weeks when I get forgetful. Two weeks seems reasonable, and longer than most trips we might take. Every day is far too much responsibility when I’m already trying to keep myself, my partner, a toddler, and a dog alive!
Store your sourdough starter in the fridge and feed it every 1 or 2 weeks. 1:1:1 ratio: 50g starter + 50g flour + 50g water and let sit 1-2 hours at room temp before returning to the fridge.
secret to success
To feed your starter, remove the sourdough starter from your jar–in my case, the mason jar. Drain or mix in any liquid on top of the starter. It’s simply a byproduct of the fermenting yeast. Once ready, we’ll feed the starter. For best results, use a scale, but you can use volume measurements if needed. Add back 50g sourdough starter (scant ¼ cup) + 50g flour (6 heaping Tbsp) + 50g water (scant ¼ cup) and mix until combined. Allow to sit at room temperature 1-2 hours before returning to the fridge.
To feed your sourdough starter before making no-knead sourdough bread, use the 1:1:1 ratio: 75g starter + 75g flour + 75g water and let it sit for 1-2 hours and room temperature before proceeding.
secret to success
If you choose to store your sourdough starter in your refrigerator, you’ll need to take a few extra steps to prepare it for use in this no-knead sourdough bread. To prepare, remove some sourdough starter to the bowl of a stand mixer to feed, or a large bowl if not using a stand mixer. Combine 75g sourdough starter (⅓ cup) + 75g flour (½ cup + 2 Tbsp) + 75g water (⅓ cup) and mix together. Allow to sit at room temperature for 2 hours before continuing.
Once the starter is ready to be used in this no-knead sourdough bread, add in 600g (5 cups) bread flour + 18g salt (1 Tbsp) + 400g lukewarm water (1 3/4 cups). With the paddle attachment of the stand mixer, mix together 30-60 seconds. If not using a stand mixer, just use a spoon and some elbow grease. It should make a sticky, rough dough.
To proof the dough in cold weather, I like to put the bowl in the oven (room temp) with the oven light on.
secret to success
Cover your doughwith a wet paper towel or plastic wrap and leave in a warm place to proof. In cold weather, I like to put it in the oven with the oven light on. This creates enough insulation to keep the no-knead sourdough bread proofing, and even that little bit of warmth from the light helps keep the right temperature.

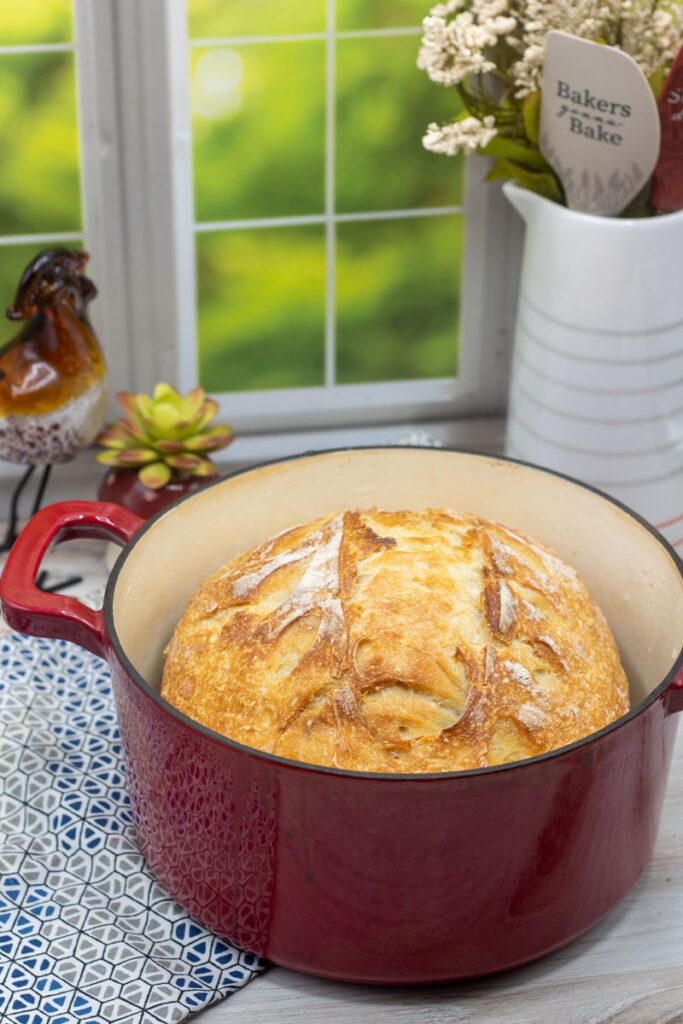
You’ll need to proof your no-knead sourdough bread multiple times, but otherwise it’s a lot of minimal folding the dough and waiting for it to proof. When you’re ready to bake, you’ll want to preheat the oven to 500°F, but then turn the heat down to 450°F to put the bread in the oven. I use a dutch oven for my bread, and coat the bottom of it with olive oil and cornmeal. You can also use semolina flour instead of cornmeal. This helps it keep from sticking to the vessel.
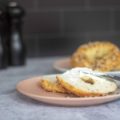
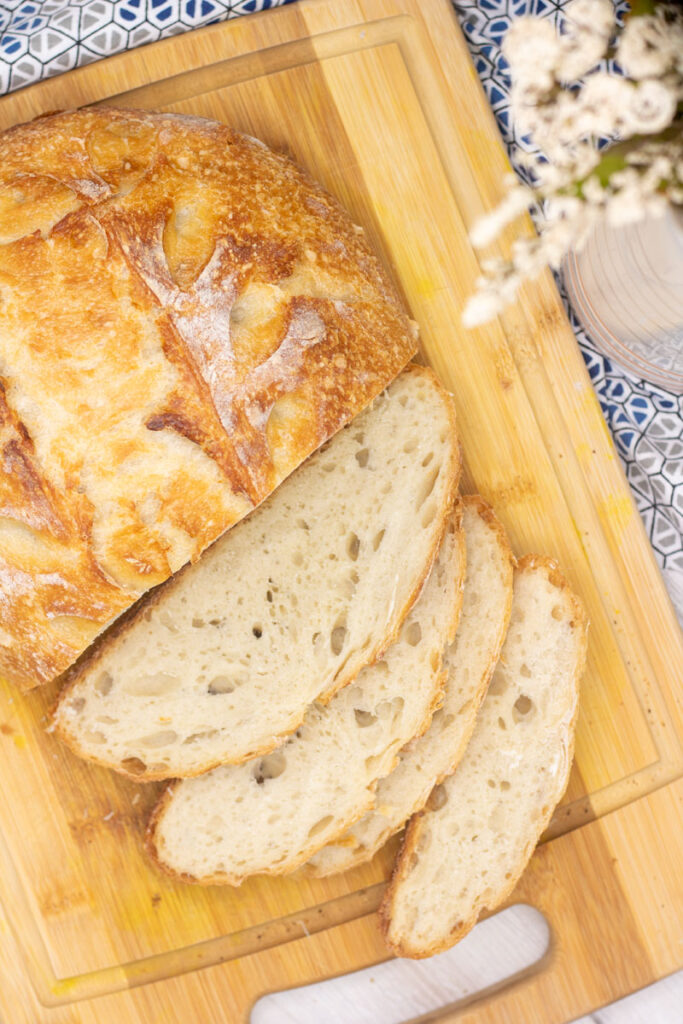
Allow the bread to cool on a rack, or honestly, I usually just leave it in the dutch oven uncovered until I go to bed, then cover it. Once I slice into the bread, I typically store it in a plastic bag or container. I’ll only cut slices as I need them, so the rest of the loaf stays fresh and chewy for as long as possible.
Need help troubleshooting? This Sourdough Journey is a great place to start! I’m using it all the time as I too, am learning as I go!
secrets to success;
Want all the best tips and tricks to make this recipe a success? Check out the blog post above to find out more!
more recipes;
Looking for other recipes to go with this no-knead sourdough bread? Check out these delicious options.
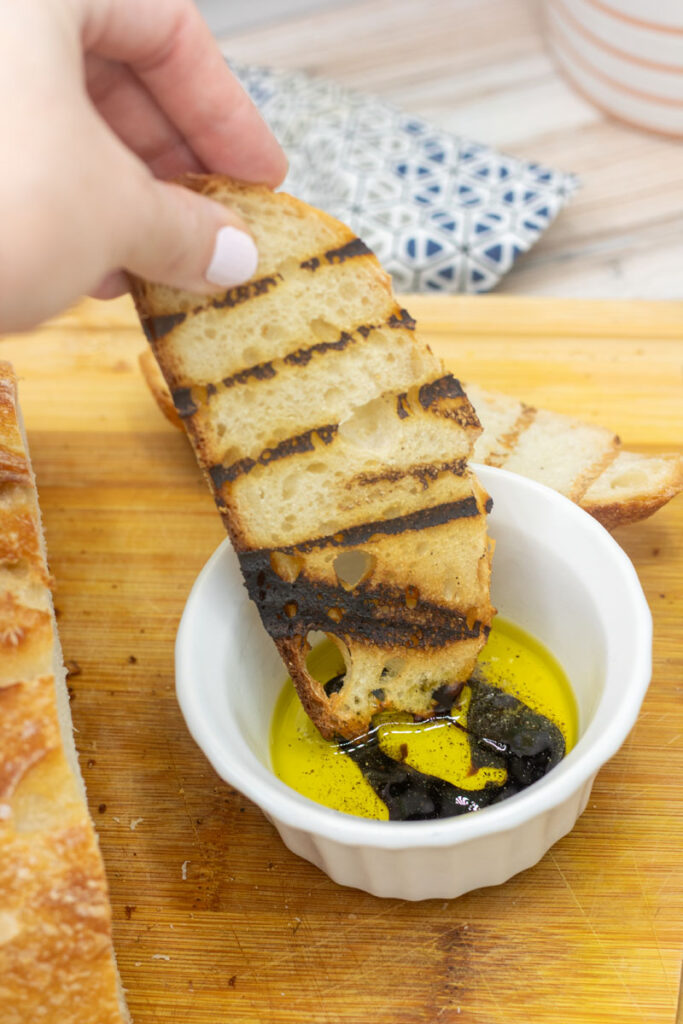
- This no-knead sourdough bread goes perfectly with this steak decadence sandwich, or pile it high with pesto chicken salad for a healthful and refreshing option.
- Looking for other bread recipes? If you’re a fan of no-knead recipes, this overnight easy focaccia is about as simple as it gets for bread!
- One of my favorite breakfasts is biscuits and gravy: make these sour cream and chive biscuits, and top with homemade sausage gravy!

no-knead sourdough bread;
Ingredients
refrigerated sourdough starter;
- 75 g sourdough starter (⅓ cup) alt. 225g of room temperature sourdough starter
- 75 g all-purpose flour (½ cup + 2 Tbsp)
- 75 g lukewarm water (⅓ cup)
no-knead sourdough bread;
- 600 g bread flour (5 cups)
- 400 g lukewarm water (1¾ cups)
- 18 g salt (1 Tbsp)
- 1 tsp corn meal (or semolina flour)
- 1 Tbsp olive oil
Instructions
refrigerated sourdough starter;
- (Optional) If your sourdough starter is already room temperature and active, use 225g sourdough starter and skip to no-knead sourdough bread.
- Discard any liquid on top of the refrigerated sourdough starter. Remove 75g of refrigerated starter to the bowl of a stand mixer or a large bowl. Add in 75g all-purpose flour and 75g lukewarm water and mix together.
- Cover the top of the bowl with a wet dish towel and allow to sit at room temperature for 1-2 hours.
no-knead sourdough starter;
- Remove the wet dish towel and add all ingredients to the bowl (600g bread flour, 400g lukewarm water, 18g salt).
- Using the paddle attachment on your stand mixer, mix for 30-60 seconds until a tacky dough forms. If not using a stand mixer, use a spoon and mix by hand until the dough comes together.
- Cover with a wet towel or plastic wrap and allow to rise for 1 hour.
- Gently fold the dough over on itself several times, then replace the towel or plastic wrap and allow to rise for 1 hour
- Repeat previous step again for the third rise.
- Let the dough rest for up to 8 hours. You can store this in the fridge if doing it overnight.
- When you're ready to bake the bread, flour your work surface. Shape it into a rough ball and leave it seam-side up for 15 minutes.
- Prepare your baking vessel. I use a dutch oven. Coat the bottom with 1 Tbsp olive oil, and sprinkle cornmeal across the bottom. This will make it easy to remove. Add the bread, seam-side down, to the dutch oven.
- (Optional) Allow the bread to rise for 2 hours.
- Preheat the oven to 500°F. Score the bread with a sharp knife or lame, cutting ½" deep. A large cut down the center works well, or a cross-hatch pattern.
- Once preheated, turn the oven temperature down to 450°F. Place your baking dish with the lid on into the oven.
- Bake 45 minutes.
- Remove the lid and bake an additional 15 minutes until bread is golden brown and crusty.
- Remove the bread from the oven and transfer it to a rack to cool.